When I started this site to write about WordPress Tutorials, I was looking for a way to install WordPress on Mac so that I can try out various things before writing tutorials about them.
Even in your case, chances are that you will someday want to install WordPress locally on your machine. It could just be for learning WordPress or to try out some customizations or to record some tutorials.
It is always easier to try out various things if you have WordPress installed locally on your machine.
So in this tutorial, I will show you how to install WordPress on Mac using MAMP. If you are interested to learn about creating WordPress websites the code-free way, then read this massive guide.
How to Install WordPress on Mac Using MAMP
MAMP is a free software that can be used to host WordPress sites locally on your machine. MAMP stands for My Apache – MySQL – PHP.
There are basically 3 steps to follow for installing WordPress on Mac using MAMP:
- Download and Install MAMP
- Create a Database for WordPress
- Download and Install WordPress
Step 1: Download and Install MAMP
You can download MAMP for Mac from its site: https://www.mamp.info.
A file with the extension “.pkg” will get downloaded. Double-click on that file to start the installation process.
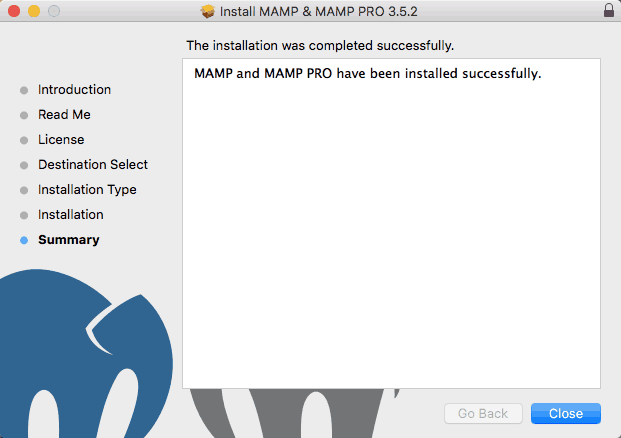
Follow the instructions in the installation process to install MAMP. On successful installation, you should see a message saying MAMP and MAMP PRO were installed successfully.
MAMP has a paid version called MAMP PRO. You can read more about the paid version on MAMP’s website. At the time of writing this article, there is no way you can just install MAMP without MAMP PRO. You can check MAMP’s site to see if this has changed now.
However, for this tutorial, we just need the free version. So you can ignore the MAMP PRO version that gets installed.
The installation process will create 2 folders, MAMP and MAMP PRO in your Applications folder. You will also see 2 icons in your Launchpad.
Just ignore MAMP PRO for now.
Click on the MAMP icon in your Launchpad to start MAMP.

Notice that Apache and MySQL server are not started. Click the “Start Servers” icon to start the servers.

Once the servers are started successfully, you will notice that the MAMP screen now shows that Apache and MySQL servers have started and the “Start Servers” icon has now changed to “Stop Servers”.
Your default browser should also get launched automatically on starting the servers and you should see the MAMP Welcome page in your browser.

If you do not see this page, then type http://localhost:8888/MAMP/ in your browser. You should see this page now.
This indicates that MAMP has got installed successfully.
I recommend that you configure MAMP to remove the port “8888” from the URL. To do this, open MAMP’s Preferences. Then go to Ports tab.
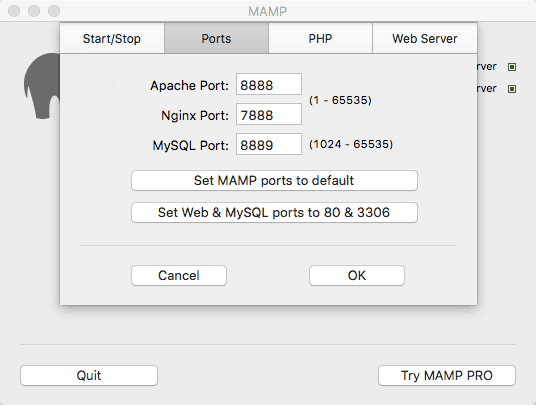
You will see that the default port for Apache is 8888 and for MySQL, it is 8889. Click the button “Set Web & MySQL ports to 80 & 3306”.
This will set the Apache port to 80 and MySQL port to 3306 which are the commonly used ports for these two.
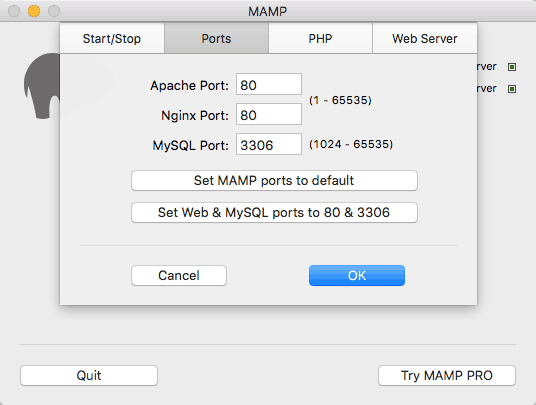
Click OK button. The system might ask you for your machine password. Once you have provided the password, the servers will restart.
Now, if you go to URL http://localhost/MAMP/ in your browser, you should see the same MAMP Welcome page as you had seen earlier.
This completes the installation for MAMP. We are half way there. Now it is time to install WordPress. But before we do that we will need a database for WordPress. So let us create a database first.
Step 2: Create a Database for WordPress
On MAMP’s Welcome page, click on “phpMyAdmin” under Tools menu.
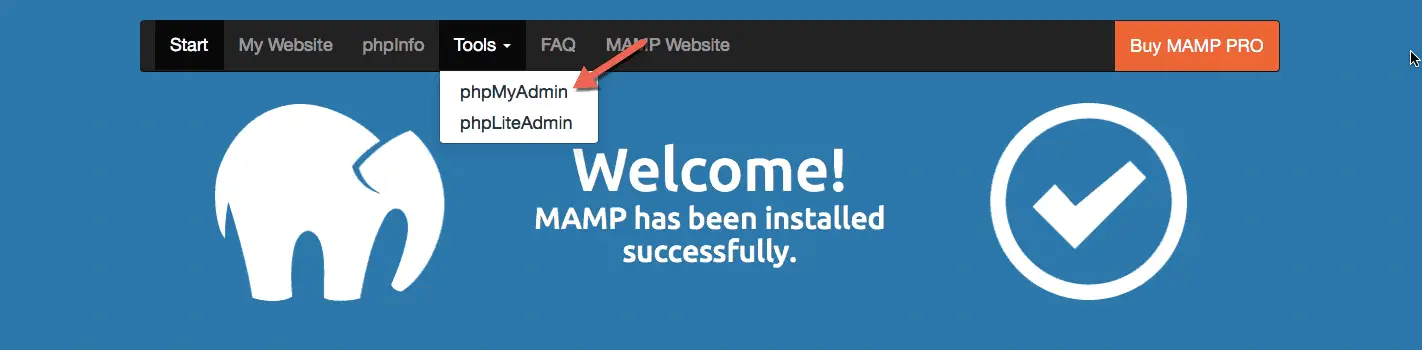
This should launch phpMyAdmin interface. phpMyAdmin allows you to manage your MySQL databases. We will create a database for WordPress using phpMyAdmin.
Go to “Databases” tab of phpMyAdmin. Enter the database name in the “Database name” field under “Create database” heading and click the “Create” button.
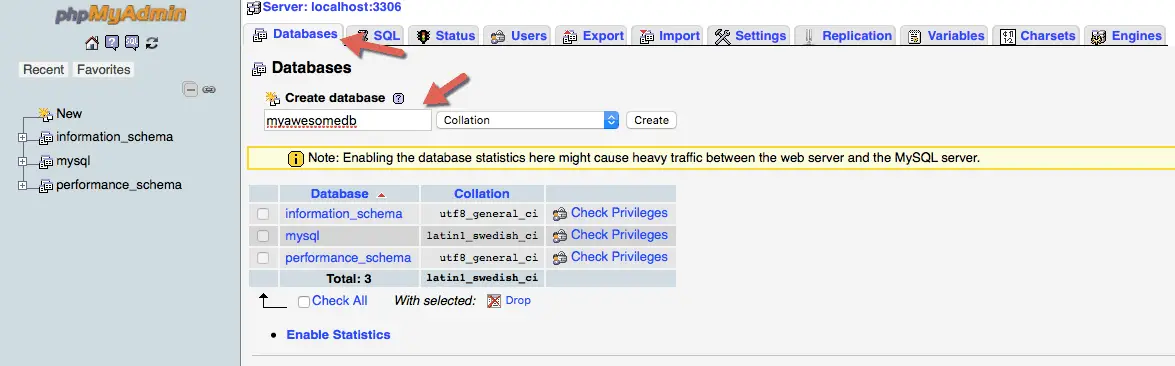
As you can see in the above screenshot, I entered “myawesomedb” as the database name. Remember the name that you give to your database, we will need it while installing WordPress.
The database will be empty for now. It is ok. WordPress installation process will create the required database tables. So, don’t worry.
Now, let us start installing WordPress.
Step 3: Download and Install WordPress
Download the latest copy of WordPress from WordPress.org and unzip it. You should get a folder called “wordpress” which will contain all the files needed to run WordPress.
Rename this folder to anything you like. I renamed it to “myawesomesite”.
Now copy this folder. Then go to Applications folder on your Mac. In Applications folder, go inside MAMP folder and then go inside “htdocs” folder. Paste the WordPress folder over here that you just renamed.
I know, you must be wondering why have we copy-pasted the WordPress folder in htdocs folder? That is because the MAMP installation by default is set to look into the htdocs folder.
If you open MAMP’s Preferences again, you will see that the Document Root is set to htdocs folder. You can change this path if you want to.
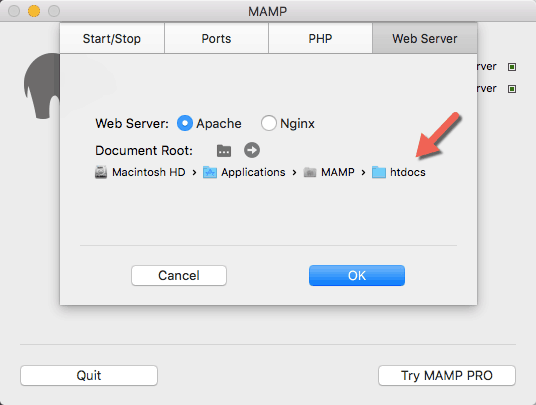
For this tutorial, let us use htdocs folder itself.
Now, to install WordPress, go to URL http://localhost/myawesomesite/ in your browser. Replace “myawesomesite” with the name that you gave to your WordPress folder when you renamed it.
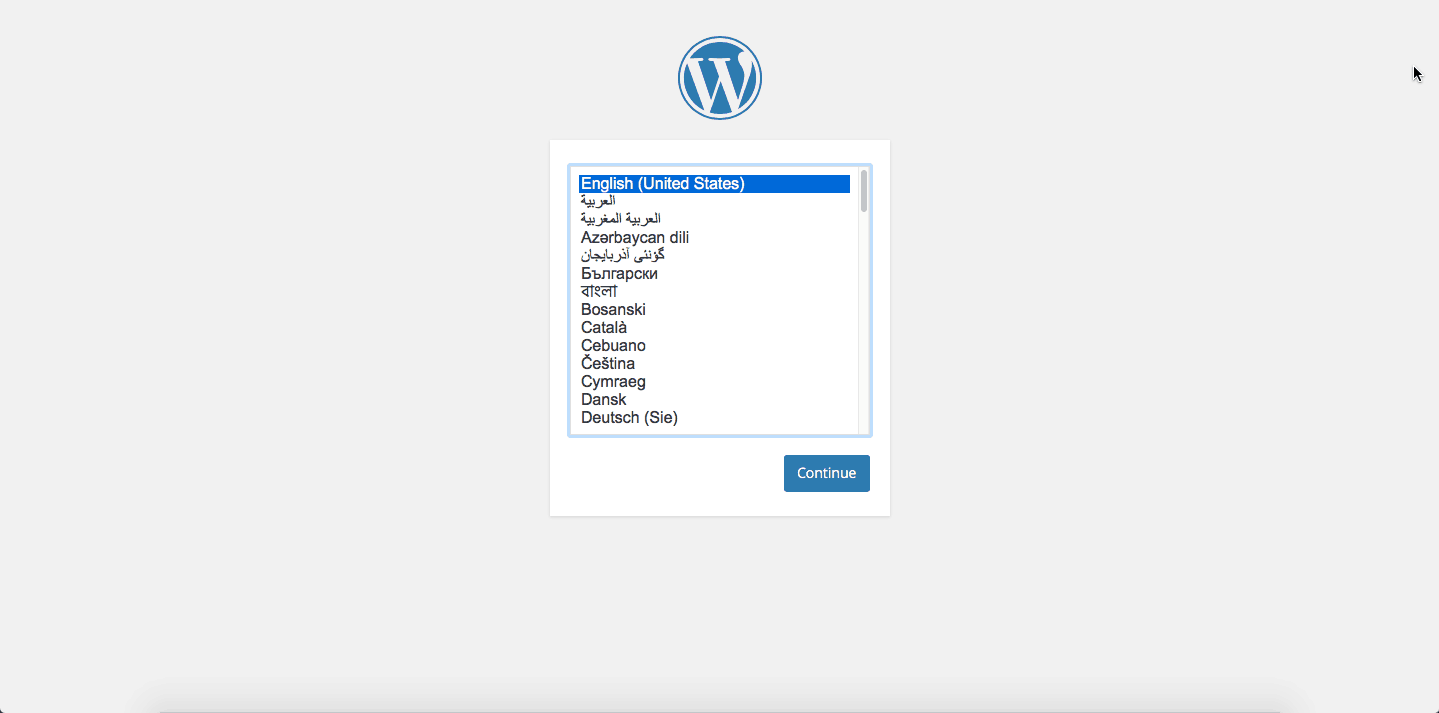
This should kick-off the installation process for WordPress and you should see the below screen to select the language in which you want to install WordPress.
Select a language and click Continue button.
On the next page, you will be informed that you need to provide the database information for WordPress and the installation process is going to generate the wp-config.php file for you.

We have already created the database in Step 2. So we are good. Click the “Let’s go!” button.
You will be taken to a page where you will need to enter the database details.
In the “Database Name” field, enter the name of the database that you had created in Step 2. Enter Username and Password as root. The “Database Host” will be defaulted to “localhost”. Leave this field as it is. You can change the “Table Prefix” if you want to. Click Submit button after entering all the details.
This should connect the installation process to your database and you should see the message that the connection to your database is successful.
Now, it is time to run the installation process that will actually install WordPress and create the necessary database tables. Click the “Run the install” button.
You will now see the page where you can enter the details for your site like its Title, the admin Username, Password etc. Enter all the details.
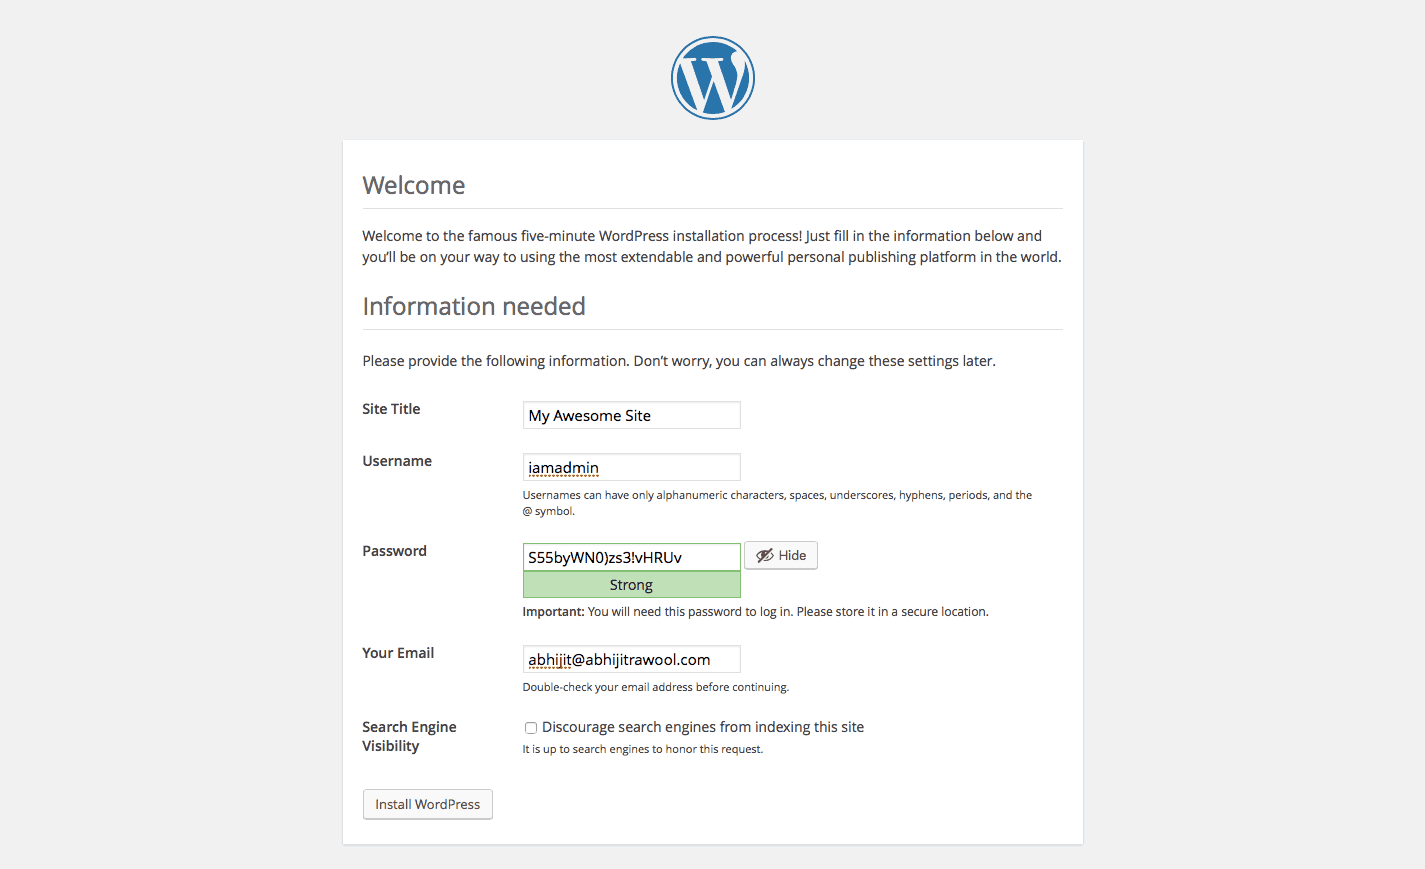
Make a note of the Username and Password that you enter on this page. We will need it to log in to the WordPress admin area.
Now, click the “Install WordPress” button.
If everything goes fine, you should see the WordPress installation success page.
Now, you can log in to the admin area of your WordPress site by clicking the “Log In” button. Use the same Username and Password that you had mentioned on the previous screen.
You can also see the front-end of your site by going to URL http://localhost/myawesomesite
Don’t forget to replace “myawesomesite” in the URL to the name that you had given to the WordPress folder when you had renamed it at the beginning of Step 3.
That is it you have successfully installed WordPress locally on your Mac using MAMP.
What If You Want to Install More WordPress Sites Locally?
No Problem!
Just repeat Steps 2 and 3. Remember to give different database name and folder name for the WordPress folder that you will paste into htdocs folder.
You can keep repeating steps 2 and 3 for installing as many WordPress sites as you need.
This WordPress Setup Is Too Technical!
I know that this process of installing WordPress is too technical for some people. But hey, it is free!
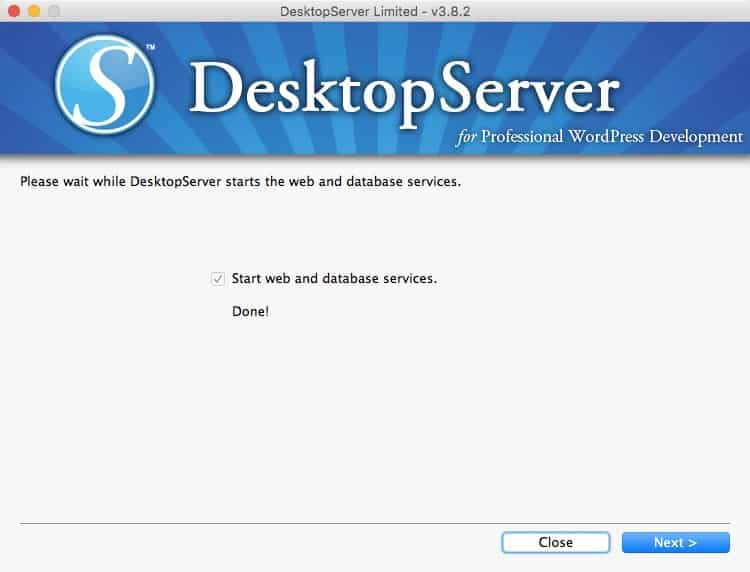
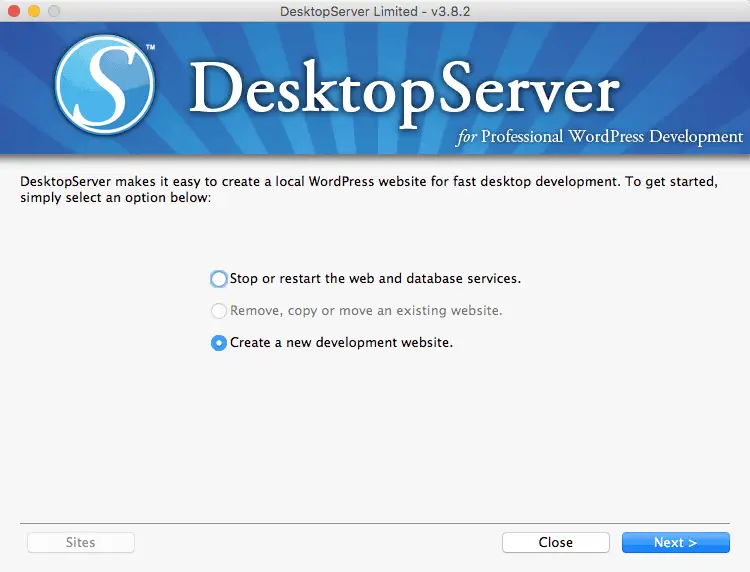
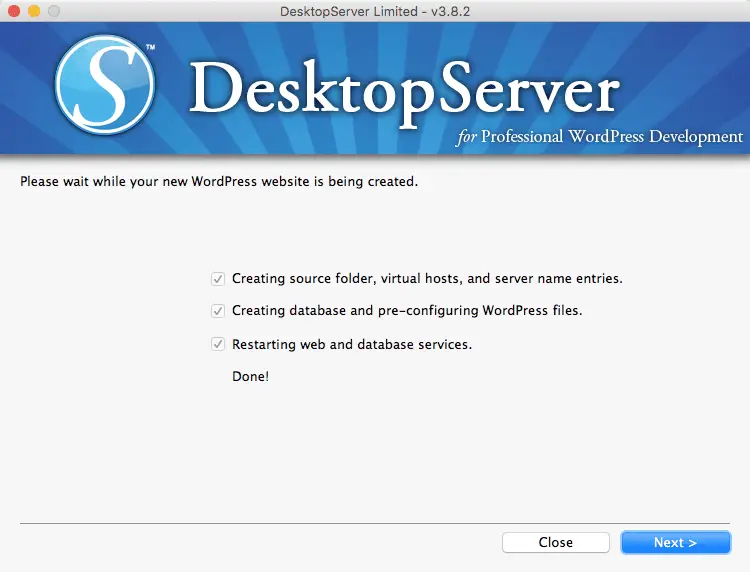
If you find this process too technical, then try using DesktopServer instead of MAMP. You are restricted to 3 local sites in the free version of DesktopServer but you can always buy the Pro version to install unlimited WordPress sites locally on your Mac. I have also written a tutorial on how to install WordPress on Mac using DesktopServer. Read it to understand how easy it is install WordPress using DesktopServer.
Else, you can always install WordPress on Mac using MAMP by following the above steps.
I hope you have now got a clear idea of how to install WordPress on Mac. If you still have any questions, please ask them in the comments below and I will do my best to answer them.
Finally, please do share this article with your friends if you found it useful. I will really appreciate that.