Categories are one of the pre-defined taxonomies in WordPress. The other one is Tags.
If you want to learn more about Tags, read this article on what are WordPress Tags and if want to learn more about making WordPress websites then read this detailed tutorial.
In this article, we are going to talk about WordPress Categories.
What are WordPress Categories?
Think of WordPress Categories as nothing but real world categories that can be created in WordPress to organize your content. For example, if you run an eCommerce website using WordPress then you can create real world categories like books, music, movies etc. in WordPress for the various categories of products that you would like to sell on your website.
I think you get the point. But also notice that in the real world all products belong to at least one category. It cannot be that a product belongs to none of the categories at all.
Similarly, WordPress also expects that your posts be in one of the Categories. If you do not assign any category to your post then WordPress will add the post to the default Category.
Yes, WordPress has a default Category and you cannot delete it. You can edit and rename it but you cannot delete it.
Every WordPress Post belongs to at least one category.
Also, remember that Categories, in general, are broad in nature. You should follow the same rule while creating Categories in WordPress. For example, on this blog, I talk about WordPress, so WordPress Themes, Plugins, Blogging, Writing etc. are some of my Categories.
All of these are broad in nature.
There can be thousands of Themes and Plugins that I can talk about. Just take one look at the official WordPress Themes and WordPress Plugins repositories and you will understand what I am talking about.
Now that you understand what are Categories, let us see how you can manage Categories in WordPress.
How to Manage Categories in WordPress
By “Manage” I mean how you can create, edit and delete Categories.
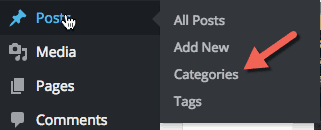
You can manage all the Categories from the Categories page. Click on the Categories menu item under Posts menu to see the Categories page.
From “Add New Category” section on the left-hand side of this page, you can create a new Category.
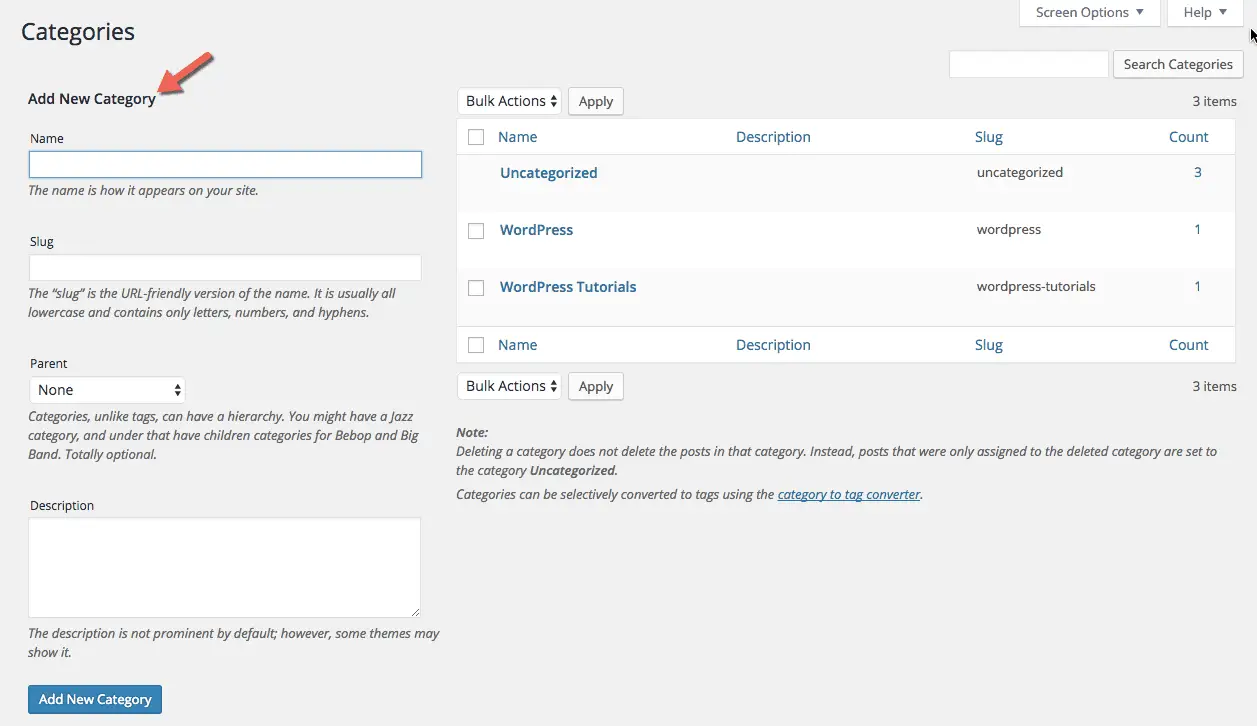
Just enter the Name of the Category, a Slug, Description and then click the “Add New Category” button.
You can even specify a Parent Category for the new Category that you are creating.
Categories are hierarchical. For example, in the eCommerce store that we talked about, the books category can in-turn have sub-categories like Fiction, Science, Romance etc. So when you create these sub-categories in WordPress, you will have to select the Parent Category as books.
Once you create a Category, the new Category will get displayed in the Categories table on the right-hand side.
From this table, you can edit and delete the existing Categories. To Edit a Category, just click on the Category name or hover your cursor over it and click the Edit or Quick Edit action.

To delete a category, simply click the Delete action.
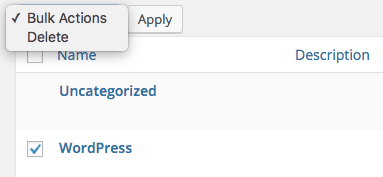
To bulk delete Categories, select the Categories to be deleted using the checkbox beside the name of the categories. Then from the Bulk Actions dropdown at the top of Categories table, select Delete and click the Apply button.
If you have posts assigned to the Category that you are trying to delete, WordPress will automatically assign those posts to the default Category.
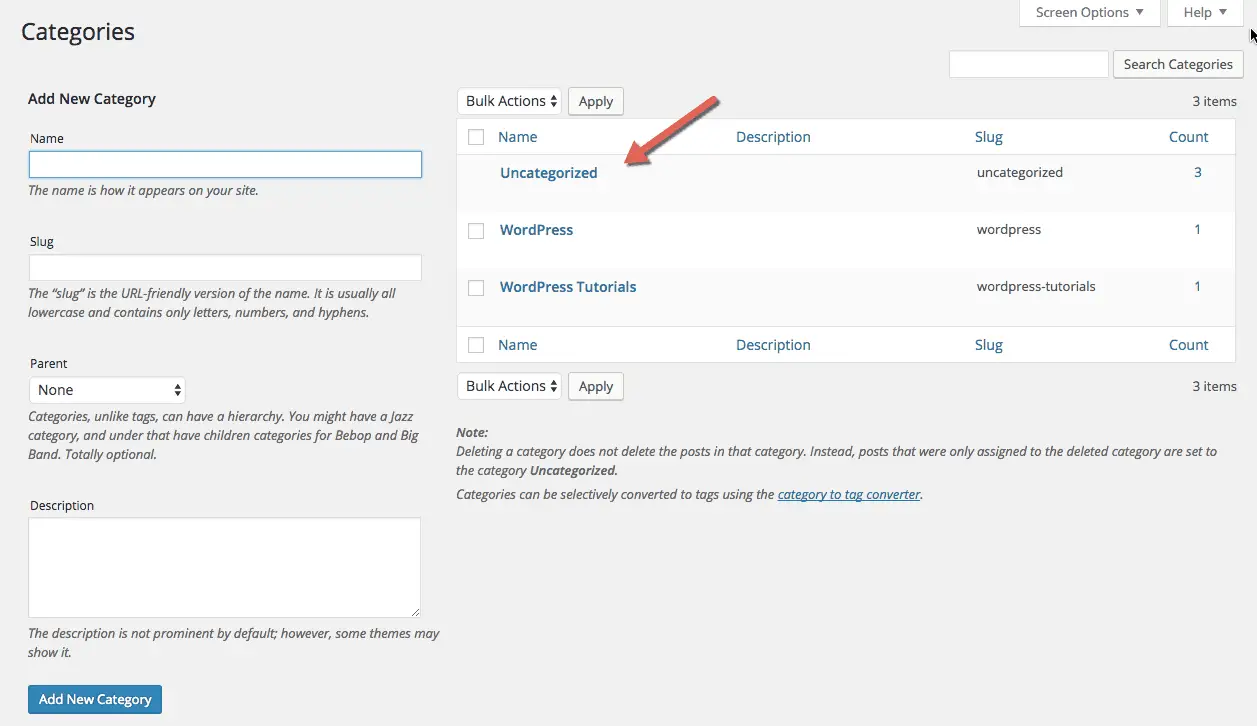
We had briefly talked about Default Category earlier. Try deleting the Default Category from the Categories table. You will notice that the Delete action is not available for the Default Category.
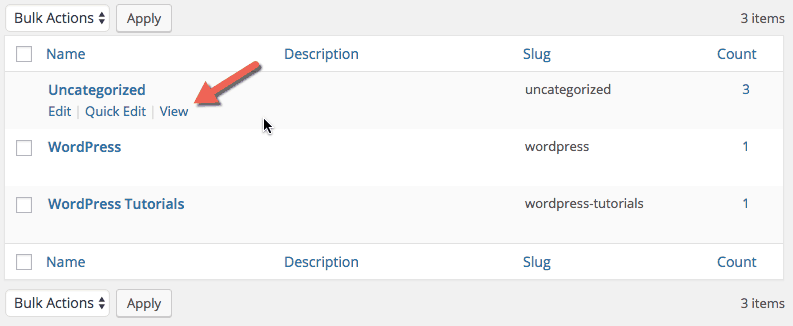
WordPress by default creates a category called “Uncategorized” and makes it the default Category. You can see in the above image that Delete action is not available for the Uncategorized category. You can only edit that category.
To delete the default Category, you will have to set some other Category as the default Category. To do that, click the Writing menu item under Settings menu.

You will be taken to the Writing page.

On this page, set the “Default Post Category” field to some other Category.
This new Category will now be used as the default Category and you will be able to delete the old default Category from Categories page.
Now that you know how to create, edit and delete Categories, let us see how you can add these Categories to WordPress Posts.
How to Add and Change Categories of a WordPress Post
To add a Category to a WordPress post, create a new post or edit an existing post. On the right-hand side, you should see the Categories meta box.

In this meta box, you can select the Categories that you want to add to the post. You can also deselect the Categories that you do not want to add to the post.
From this meta box, you can also quickly create a Category if one does not exist already. Simply click the “+Add New Category” link. You will be presented with fields to name the Category and to specify the parent Category.
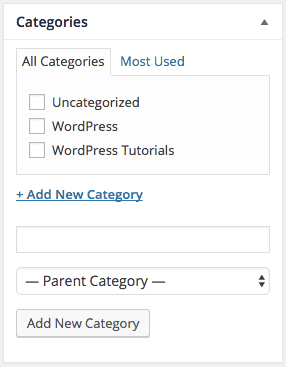
Enter the name for the new Category, select a parent Category if needed and click the “Add New Category” button. This will create a new Category and you can see it in the Categories meta box. It will be automatically selected on creation so that your post gets added to it.
Once you are done selecting the Categories, publish or update the post to add the selected Categories to the post.
You can quickly add Categories to an existing post too. To do this, go to the Posts page, hover your cursor over the post that you want to add a Category to.
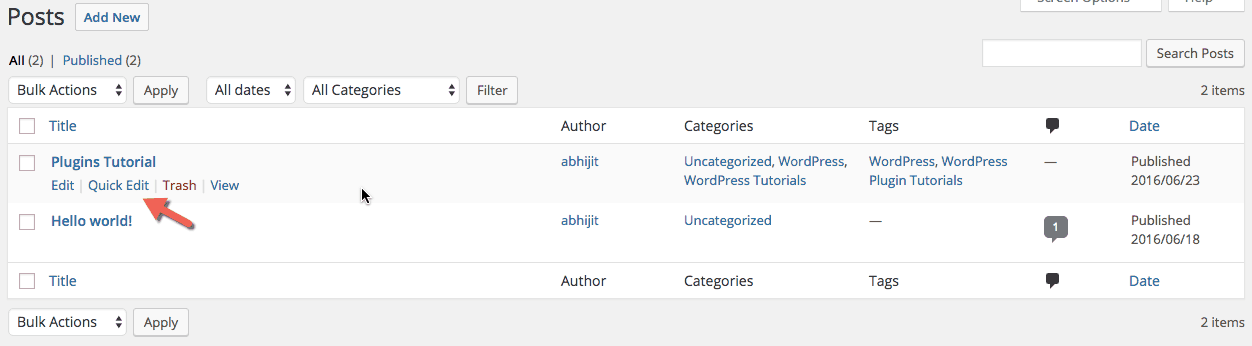
Click the “Quick Edit” action. You will see the Quick Edit section as shown in the below image.
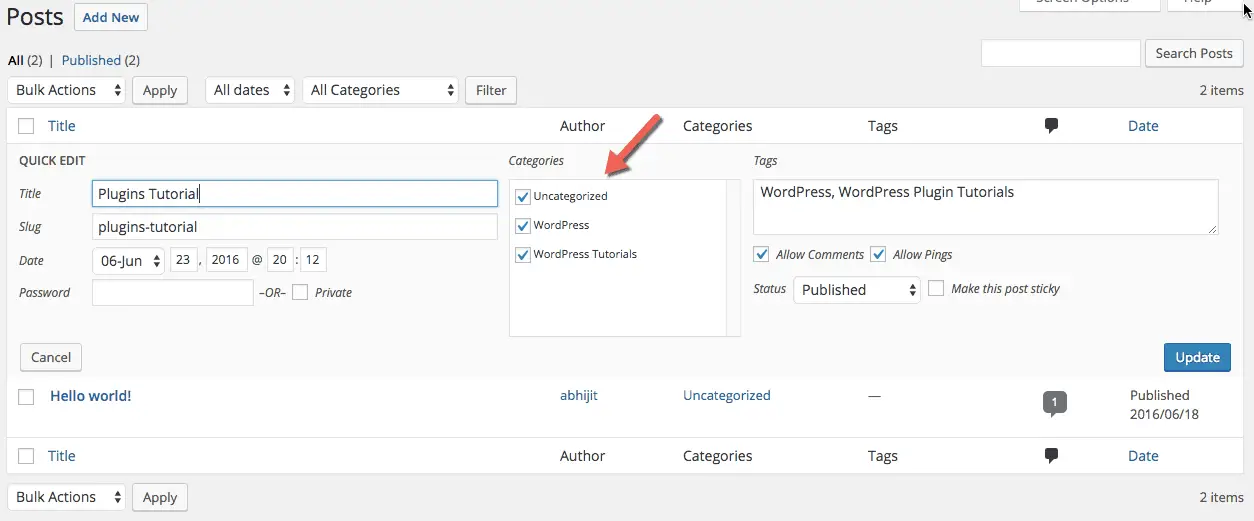
Here you can select the Categories that you want to add to the post. Once you are done selecting the Categories, click Update button.
Further reading:
- You can also auto add Categories to WordPress posts. Read this article on how to auto add Categories to WordPress posts to learn more about it.
- Want to learn even more? Read this article: How to Add Categories and Tags for WordPress Pages?
Creating, editing, deleting and adding Categories to posts is what you will do most of the time in WordPress. But there will be occasions when you might want to convert Categories to Tags. Let’s see how to do this now.
How to Convert Categories to Tags
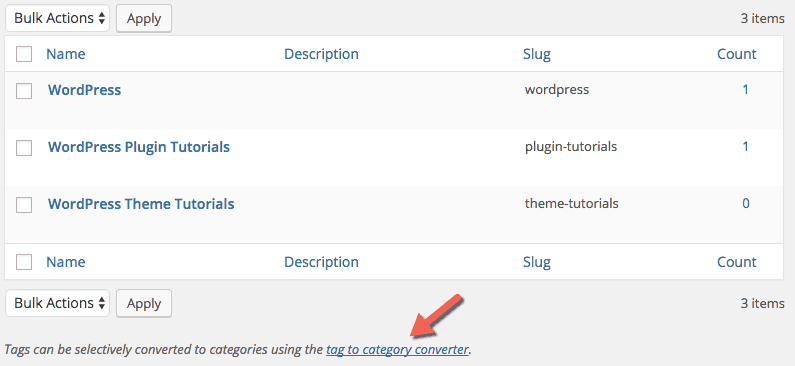
To convert Categories to Tags, go to Categories page and click the “category to tag converter” link below the Categories table.
This will take you to the Import page under Tools menu.
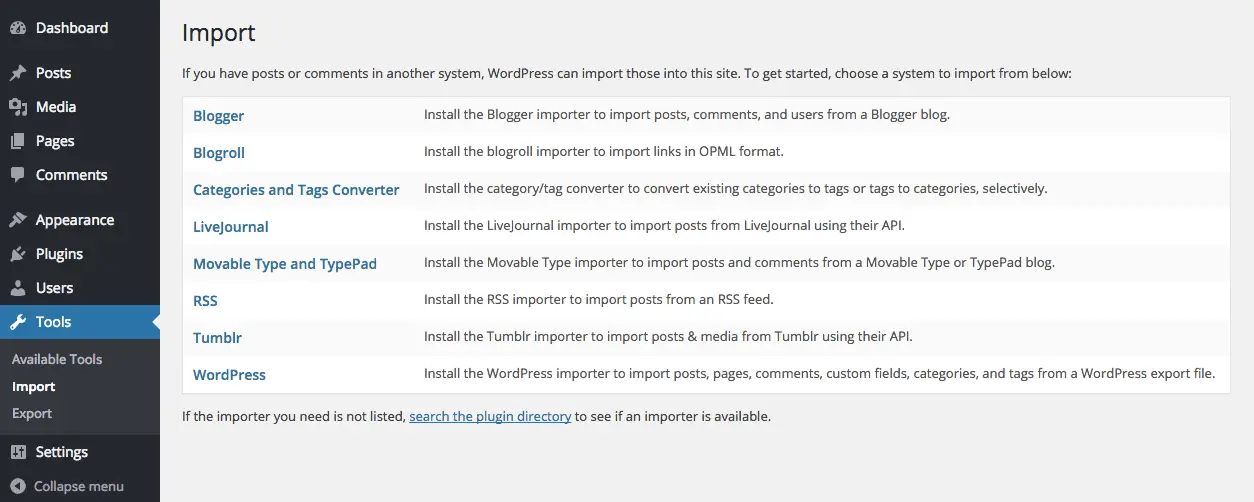
Here click the “Categories and Tags Converter” link and install the “Categories and Tags Converter” plugin.
Activate the plugin and you should see the page to convert Categories to Tags and Tags to Categories.
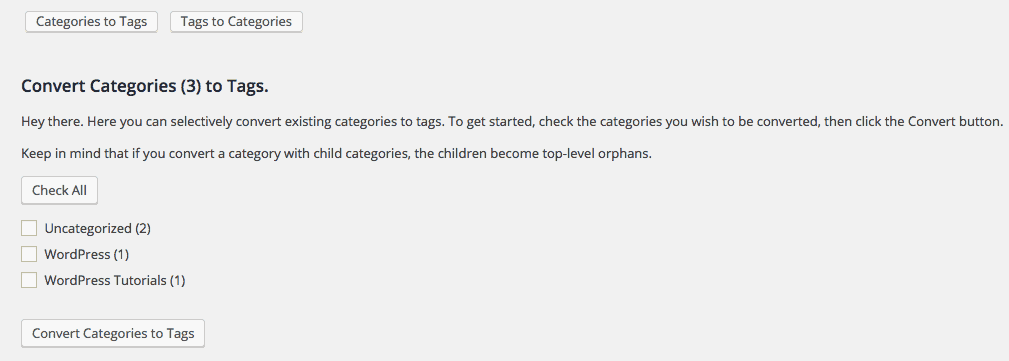
Select the Categories that you want to convert to Tags and click the “Convert Categories to Tags” button.
That should convert your selected Categories to Tags.
Now that you know everything about working with Categories in WordPress, the only thing left is to display your Categories to your site’s visitors.
How to Display Categories to Visitors
There are two places where website administrators usually display Categories to their site’s visitors. The first one is in the Navigation Menu and the other one is in the Sidebar.
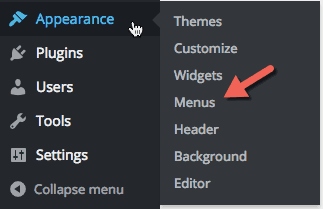
To add Categories to a Menu, click the Menus item under Appearance menu.
On the Menus page, select the Categories panel from left-hand-side.
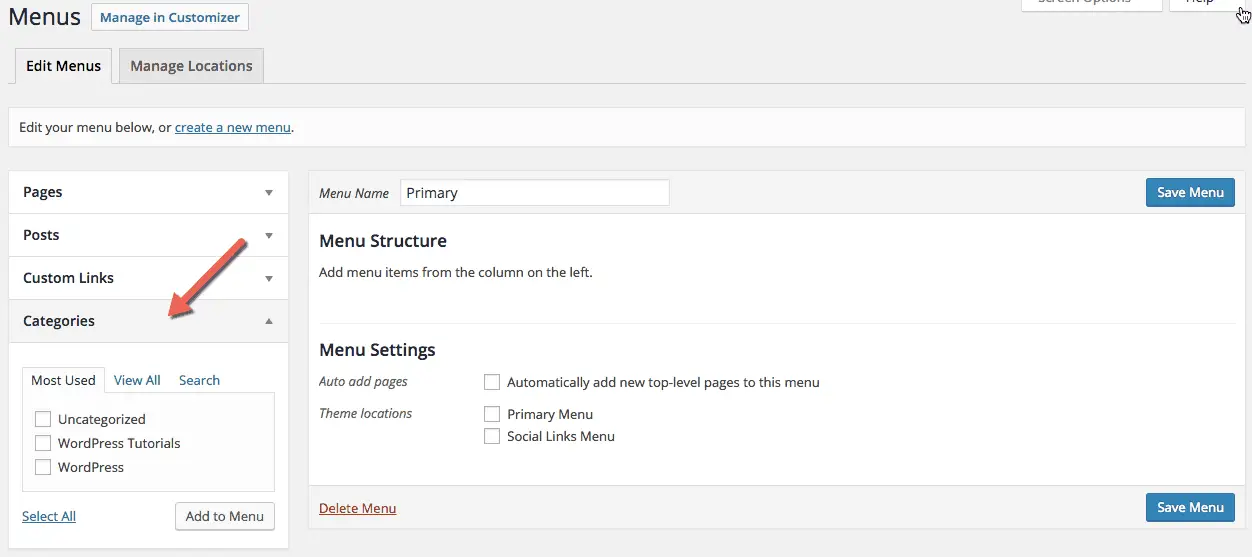
Here you can select the Categories that you want to add to the Menu you are creating or editing and click the Add to Menu button. Don’t forget to save the menu once you are done with adding Categories to the menu.
Now when you add this menu to your website, your visitors should be able to see the Categories in the menu.
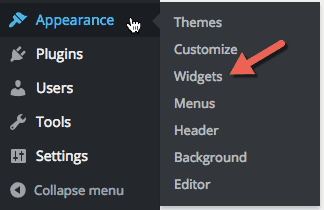
The other commonly used place to display Categories to visitors is in the sidebar. To do this, click the Widgets menu item under Appearance menu.
Drag and drop the Categories widget to the Sidebar Widget Area.
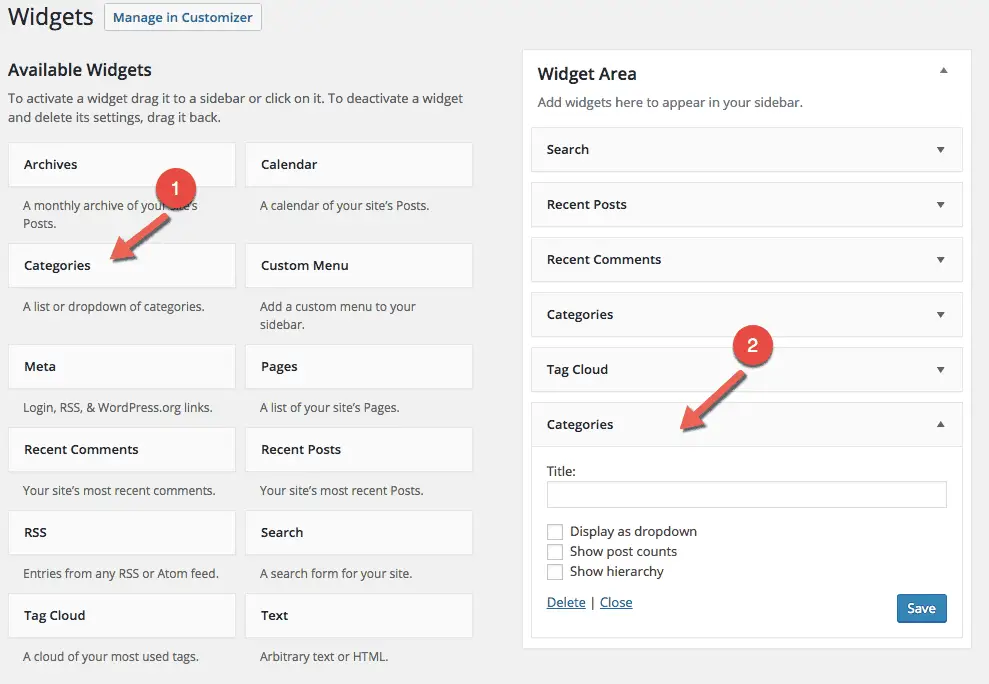
You can set the widget to display the Categories as a dropdown or as a hierarchy to your site’s visitors. Optionally you can also set the widget to display the number of posts assigned to each Category.
Once you are done setting up the Widget, click the Save button to save your changes. Your site visitors should now be able to see your Categories in the sidebar.
What you have read so far is everything that you will most likely need to use Categories in WordPress.
Finally… Should you use Categories?
Do you have an option?
Frankly, you don’t. And it is good that you don’t because no one likes to go through a pile of content that has not been categorized properly. And even if they wish to, they cannot because it is a tedious task.
Use Categories wisely to help your visitors. Not to please some Search Engine. Search Engines will follow your content anyhow, your visitors won’t. And anyway your visitors matter more than a Search Engine algorithm. So always use Categories.
I hope you have now got a good understanding of what WordPress Categories are, how to work with them and use them effectively.
If you found this article helpful, don’t forget to share it with your friends. I will really appreciate that.