Elementor’s Heading widget does not have any settings to create dual color headings. So…
How to create a dual color heading in Elementor? You can create a dual color heading in Elementor by using one of the following two methods:
- By using PowerPack Addons for Elementor plugin, and
- By using Ultimate Addons for Elementor plugin.
The first method uses a free plugin, while the second method uses a paid plugin.
Let’s see how each of these methods work.
Recommended Further Reading: How To Make A Website Without Writing A Single Line Of Code
Method 1: How To Create A Dual Color Heading In Elementor Using PowerPack Addons For Elementor Plugin
For this method, you will first need to install and activate the free PowerPack Addons for Elementor plugin from WordPress Plugins Repository.
Once you have activated this addon plugin for Elementor, edit your page with Elementor, and then scroll down to find the Dual Heading widget in the PowerPack Elements group.

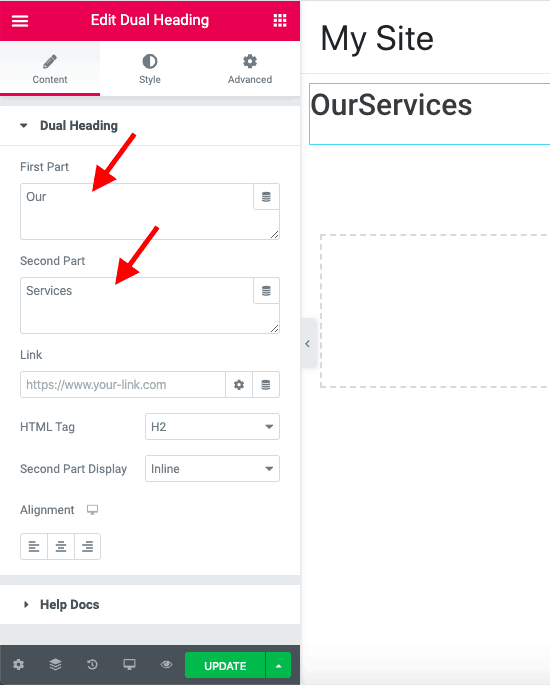
Drag-and-drop the Dual Heading widget on the page. Then under the Content tab of the widget settings, set the first part of your heading in the First Part field and the second part of your heading in the Second Part field. Don’t worry about the spacing between the two parts of the heading. You can set that in the next step.
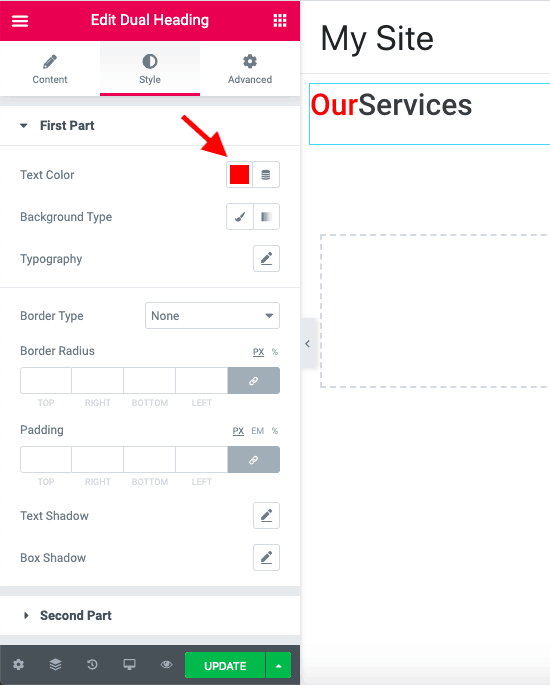
Now go to the Style tab. Here you can change the text color of the first part of your heading using the Text Color field. I have set Red color for the first part of my heading in the image below.
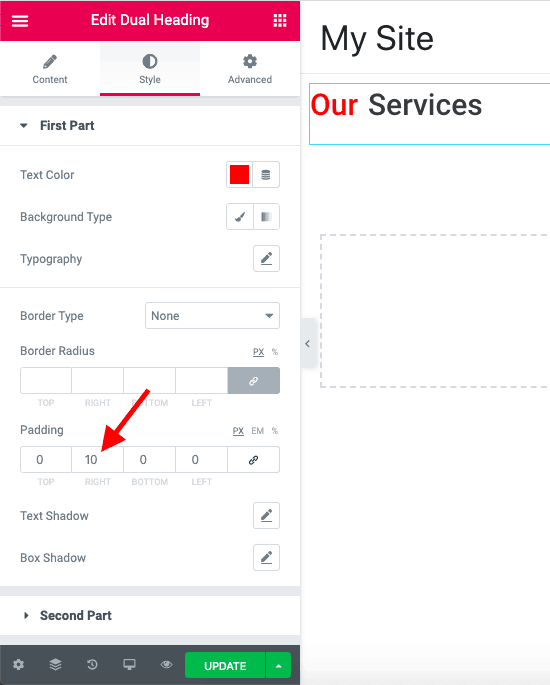
Here you can also set the padding for the right-side of the first part of the heading to space out the two parts of your heading.
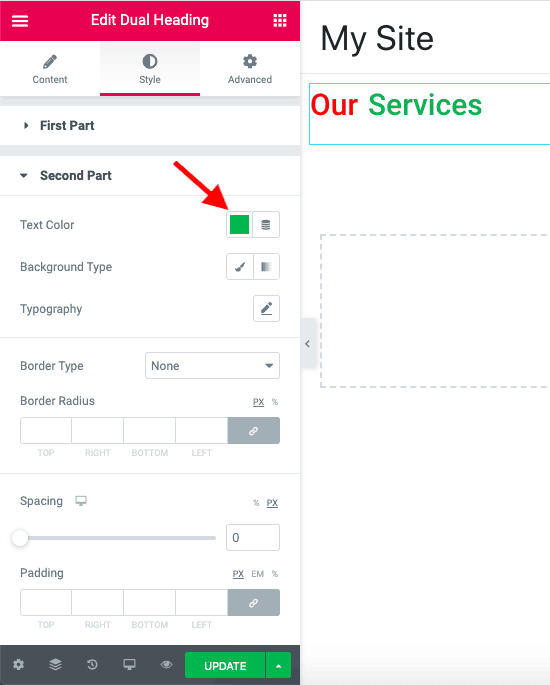
Now open the Second Part settings panel and set the text color for the second part of your heading using the Text Color field. I have set Green color to the second part of my heading.
And that’s it! You now have a dual color heading in Elementor!
You can play around with the other settings to style your heading as you want.
Okay! Now let’s see the second method.
Related Further Reading:
- 2 Easy Ways To Embed A PDF In Elementor Without Writing Code
- How To Change Header And Footer Colors In WordPress Without Code
- 11 Best WordPress Training Courses Of All Time
Method 2: How To Create A Dual Color Heading In Elementor Using Ultimate Addons For Elementor Plugin
For this method, you need to buy the Ultimate Addons for Elementor plugin, and then install and activate it.
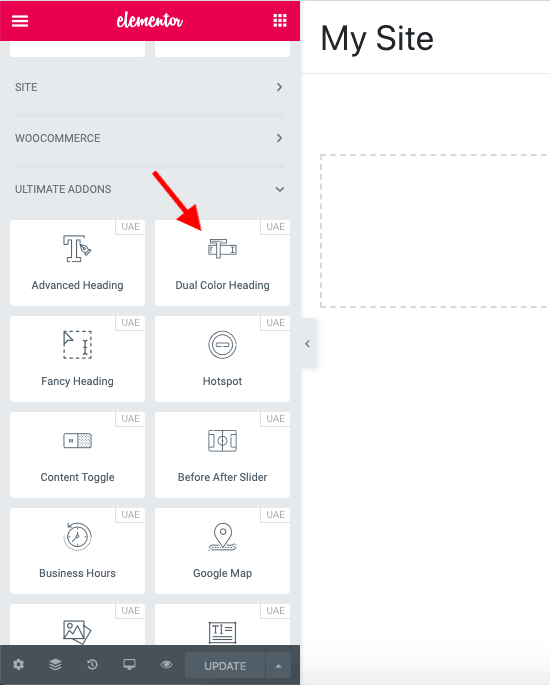
Once you have done that, edit the page in Elementor and then scroll down to the Ultimate Addons group where you will see the Dual Color Heading widget.
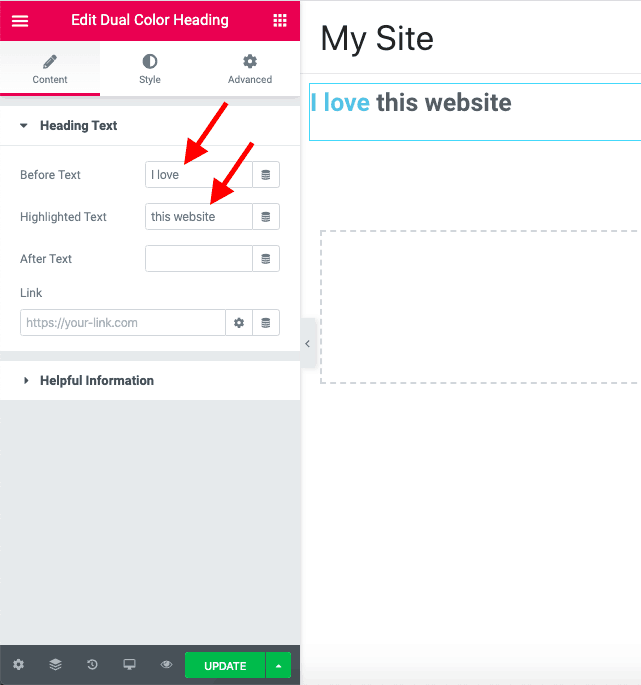
Drag-and-drop this widget on the page. On the Content tab, enter your heading in the Before Text and Highlighted Text fields. Note that you can also use the After Text field to enter the text that you want to display after the highlighted text. Also note that unlike the first method, to add spacing between the different parts of your heading, you can simply enter a space before and after the heading text in each of these fields.
Now, to style the heading, go to the Style tab. Here, under the Heading Style settings panel, select the Normal tab. Then use the Text Color field to set the text color for the part of the heading that you entered in the Before Text field on the Content tab. I have set Red color to my Before Text heading part in the below image.
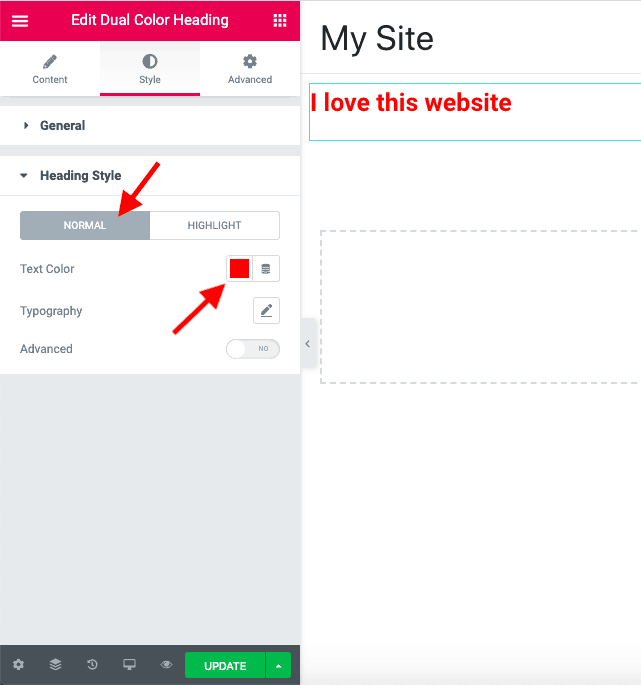
Note that if you had entered any text in the After Text field, then this will also set the same text color to that part of the heading text.
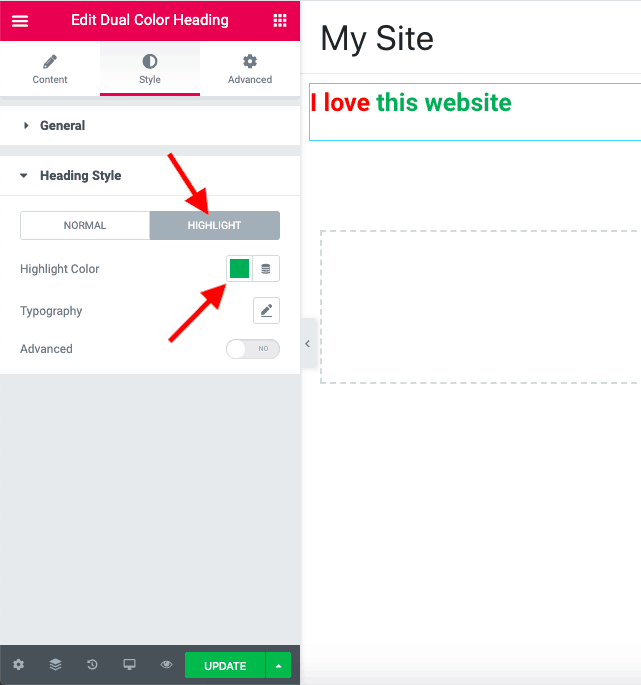
Now go to the Highlight tab. Use the Highlight Text field to set the text color for the part of the heading that you had entered in the Highlighted Text field. I have set Green color to my Highlighted Text heading part in the image below.
And that’s it!
You now have a dual color heading in Elementor.
You can also play with the other settings to style your heading.
Great! But…
Which Of These Two Methods Should You Use?
Well, there are two things to consider.
- Price, and
- Quality.
The first method uses a free plugin, while the second method uses a paid plugin. So, if you are on a budget, then use the first method.
But if you are not on a budget, then you should consider the second method because quality-wise Ultimate Addons for Elementor plugin is a better plugin than PowerPack Addons for Elementor plugin.
This is evident from how both the plugins allow you to insert a space between the two parts of the heading. PowerPack Addons for Elementor makes you use padding to separate the two parts of the heading, while Ultimate Addons for Elementor allows you to just enter a space to separate the different parts of the heading.
Now the decision of choosing one of these methods is up to you.
What’s Next?
Creating a dual color heading in Elementor is very easy using one of these two plugins.
And both plugins are created by development teams who know what they are doing. So you cannot go wrong with any of these methods.
Just pick the method that suits you, and go with it.