Adding javascript to a page built with Elementor is straightforward.
Here’s a video tutorial. And if you prefer written instructions, then the steps are right below the video.
Given below are the steps to add javascript to Elementor:
- Edit the page on which you want to place the javascript using Elementor.
- Click the “Edit with Elementor” button to edit the page with Elementor.
- Drag-and-drop the HTML widget on the page.
- The HTML widget settings panel will display on the left-hand side.
- Insert the javascript code in the HTML Code field that is available in the HTML widget settings panel.
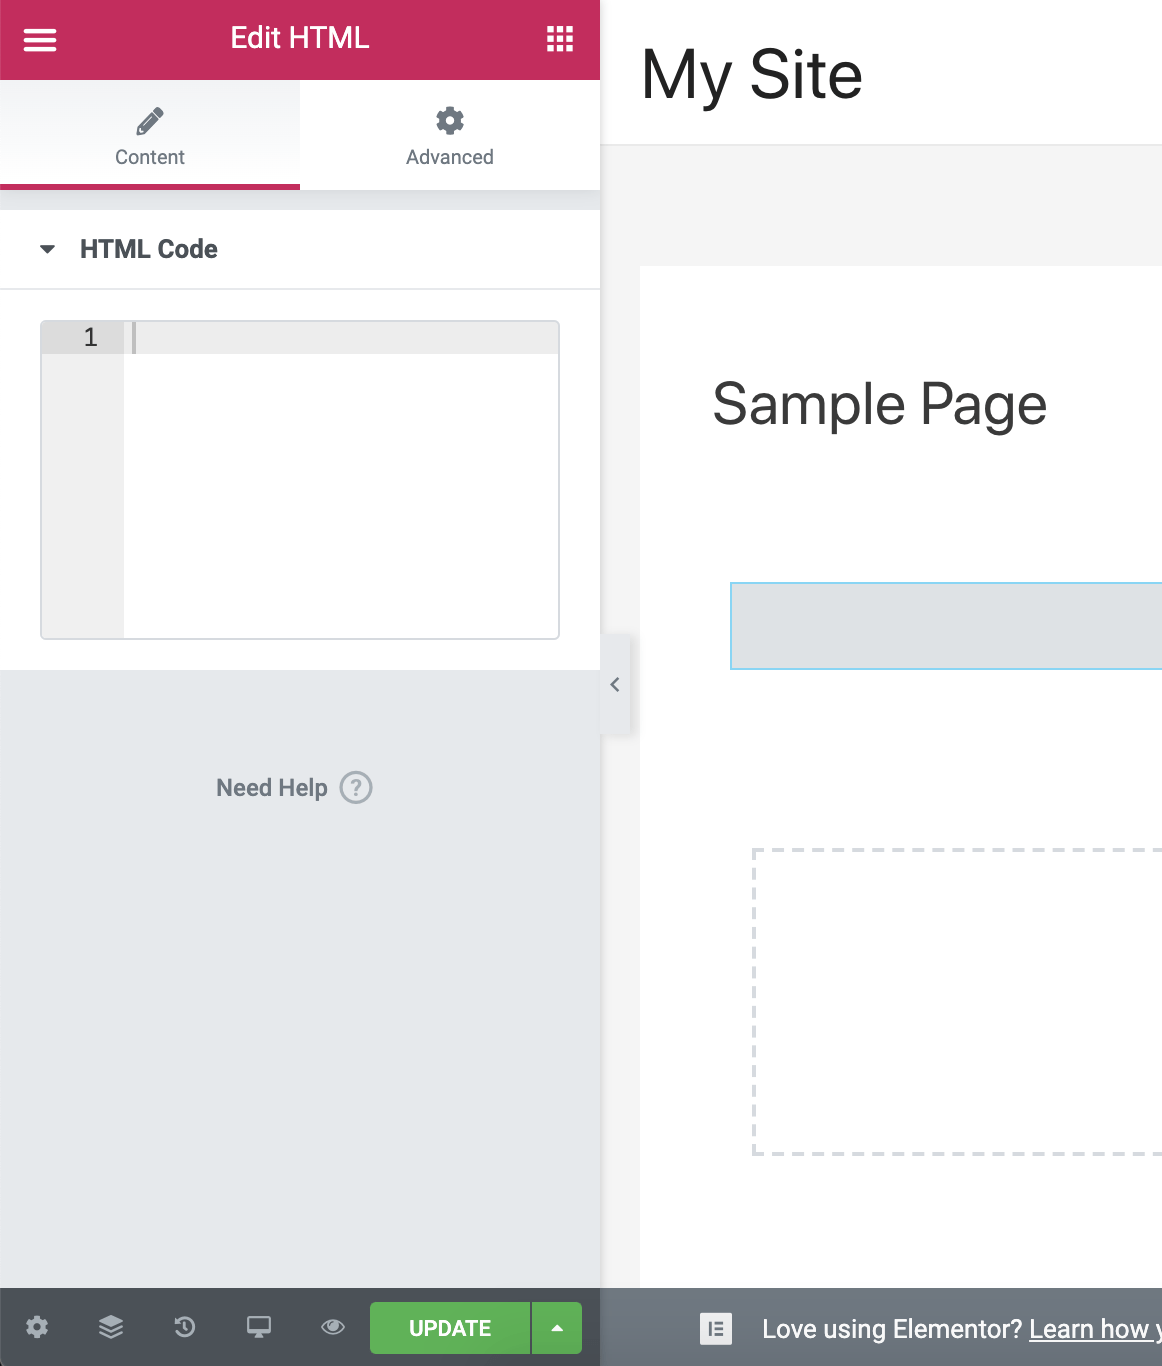
Finally, don’t forget to click the Update button to save your changes.
And that’s it!
That is how you can insert javascript on a page built with Elementor.
I know that this is not a good way to insert javascript.
Ideally, Elementor should allow you to add page-level javascript from the Settings.
But currently, it only allows you to add CSS code from page-level Settings and that too only in Elementor Pro.
So you need to use the HTML widget for inserting javascript.
Recommended Further Reading:
- 2 Ways To Add A Phone Number In Elementor And Make It Clickable
- 2 Easy Ways To Embed A PDF In Elementor Without Writing Code
- Elementor Review – Only One Thing Matters In Elementor, Nothing Else!
- Is Elementor SEO Friendly? (Proven With Facts And Stats)
- How To Link A Button Or A Page To Another Page In Elementor?
Okay! If you found this small tutorial useful, then please don’t forget to share it with your friends.
I would really appreciate it.