Adding a vertical divider in Elementor is not straightforward. However, there is a way to do it easily and without writing any code.
Given below are the steps to add a vertical divider in Elementor:
- Install and activate the PowerPack Addons for Elementor plugin from the WordPress Plugins Repository.
- Edit the page with Elementor on which you want to place the vertical divider.
- Scroll down to the PowerPack Elements group in the left-side Elementor panel.
- Drag-and-drop the Divider widget on the page from under the PowerPack Elements group.
- Set the Direction field to Vertical in the left-side Divider widget settings panel.
- Style the Divider widget as needed.
- Save your changes.
Let’s take a detailed look at each of these steps now.
How To Add Vertical Divider In Elementor Using PowerPack Addons For Elementor Plugin
First, install and activate the free PowerPack Addons for Elementor plugin.
Then, edit the page on which you want to place the vertical divider.
Scroll down to the PowerPack Elements group until you see the Divider widget. Do not confuse this Divider widget of PowerPack plugin with the default Divider widget of Elementor. I wish the PowerPack team had named their Divider widget differently to avoid confusion. But unfortunately, they haven’t.
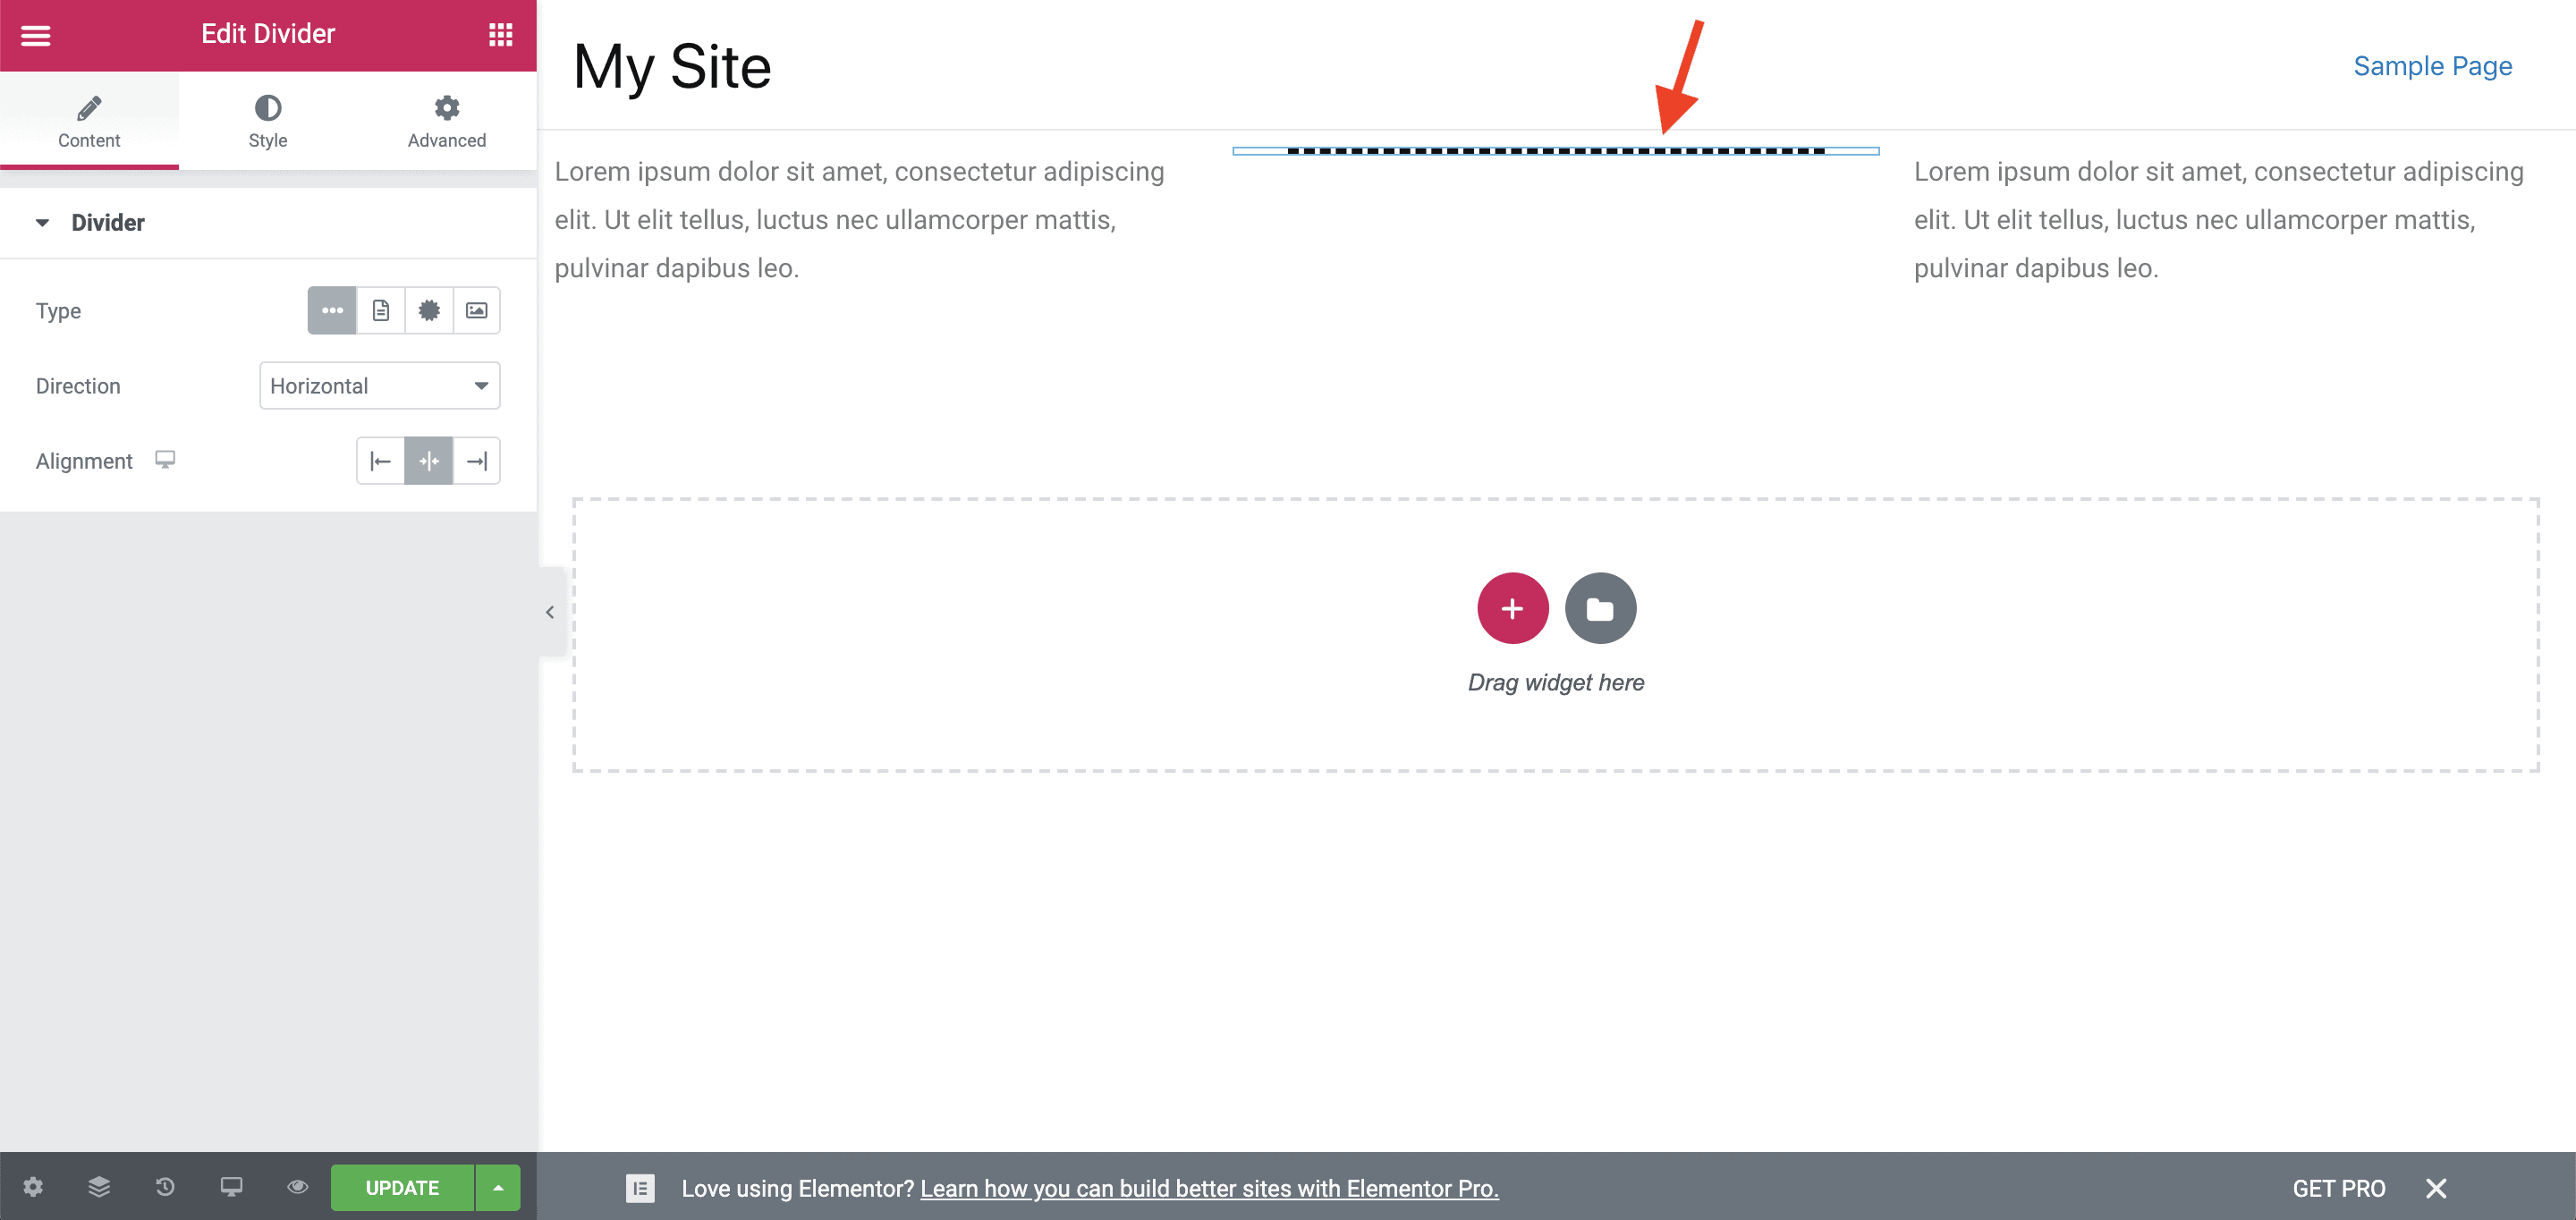
Now, drag-and-drop the Divider widget from under the PowerPack Elements group on to the page. In the below image, you can see that I have added the Divider widget in the middle column.
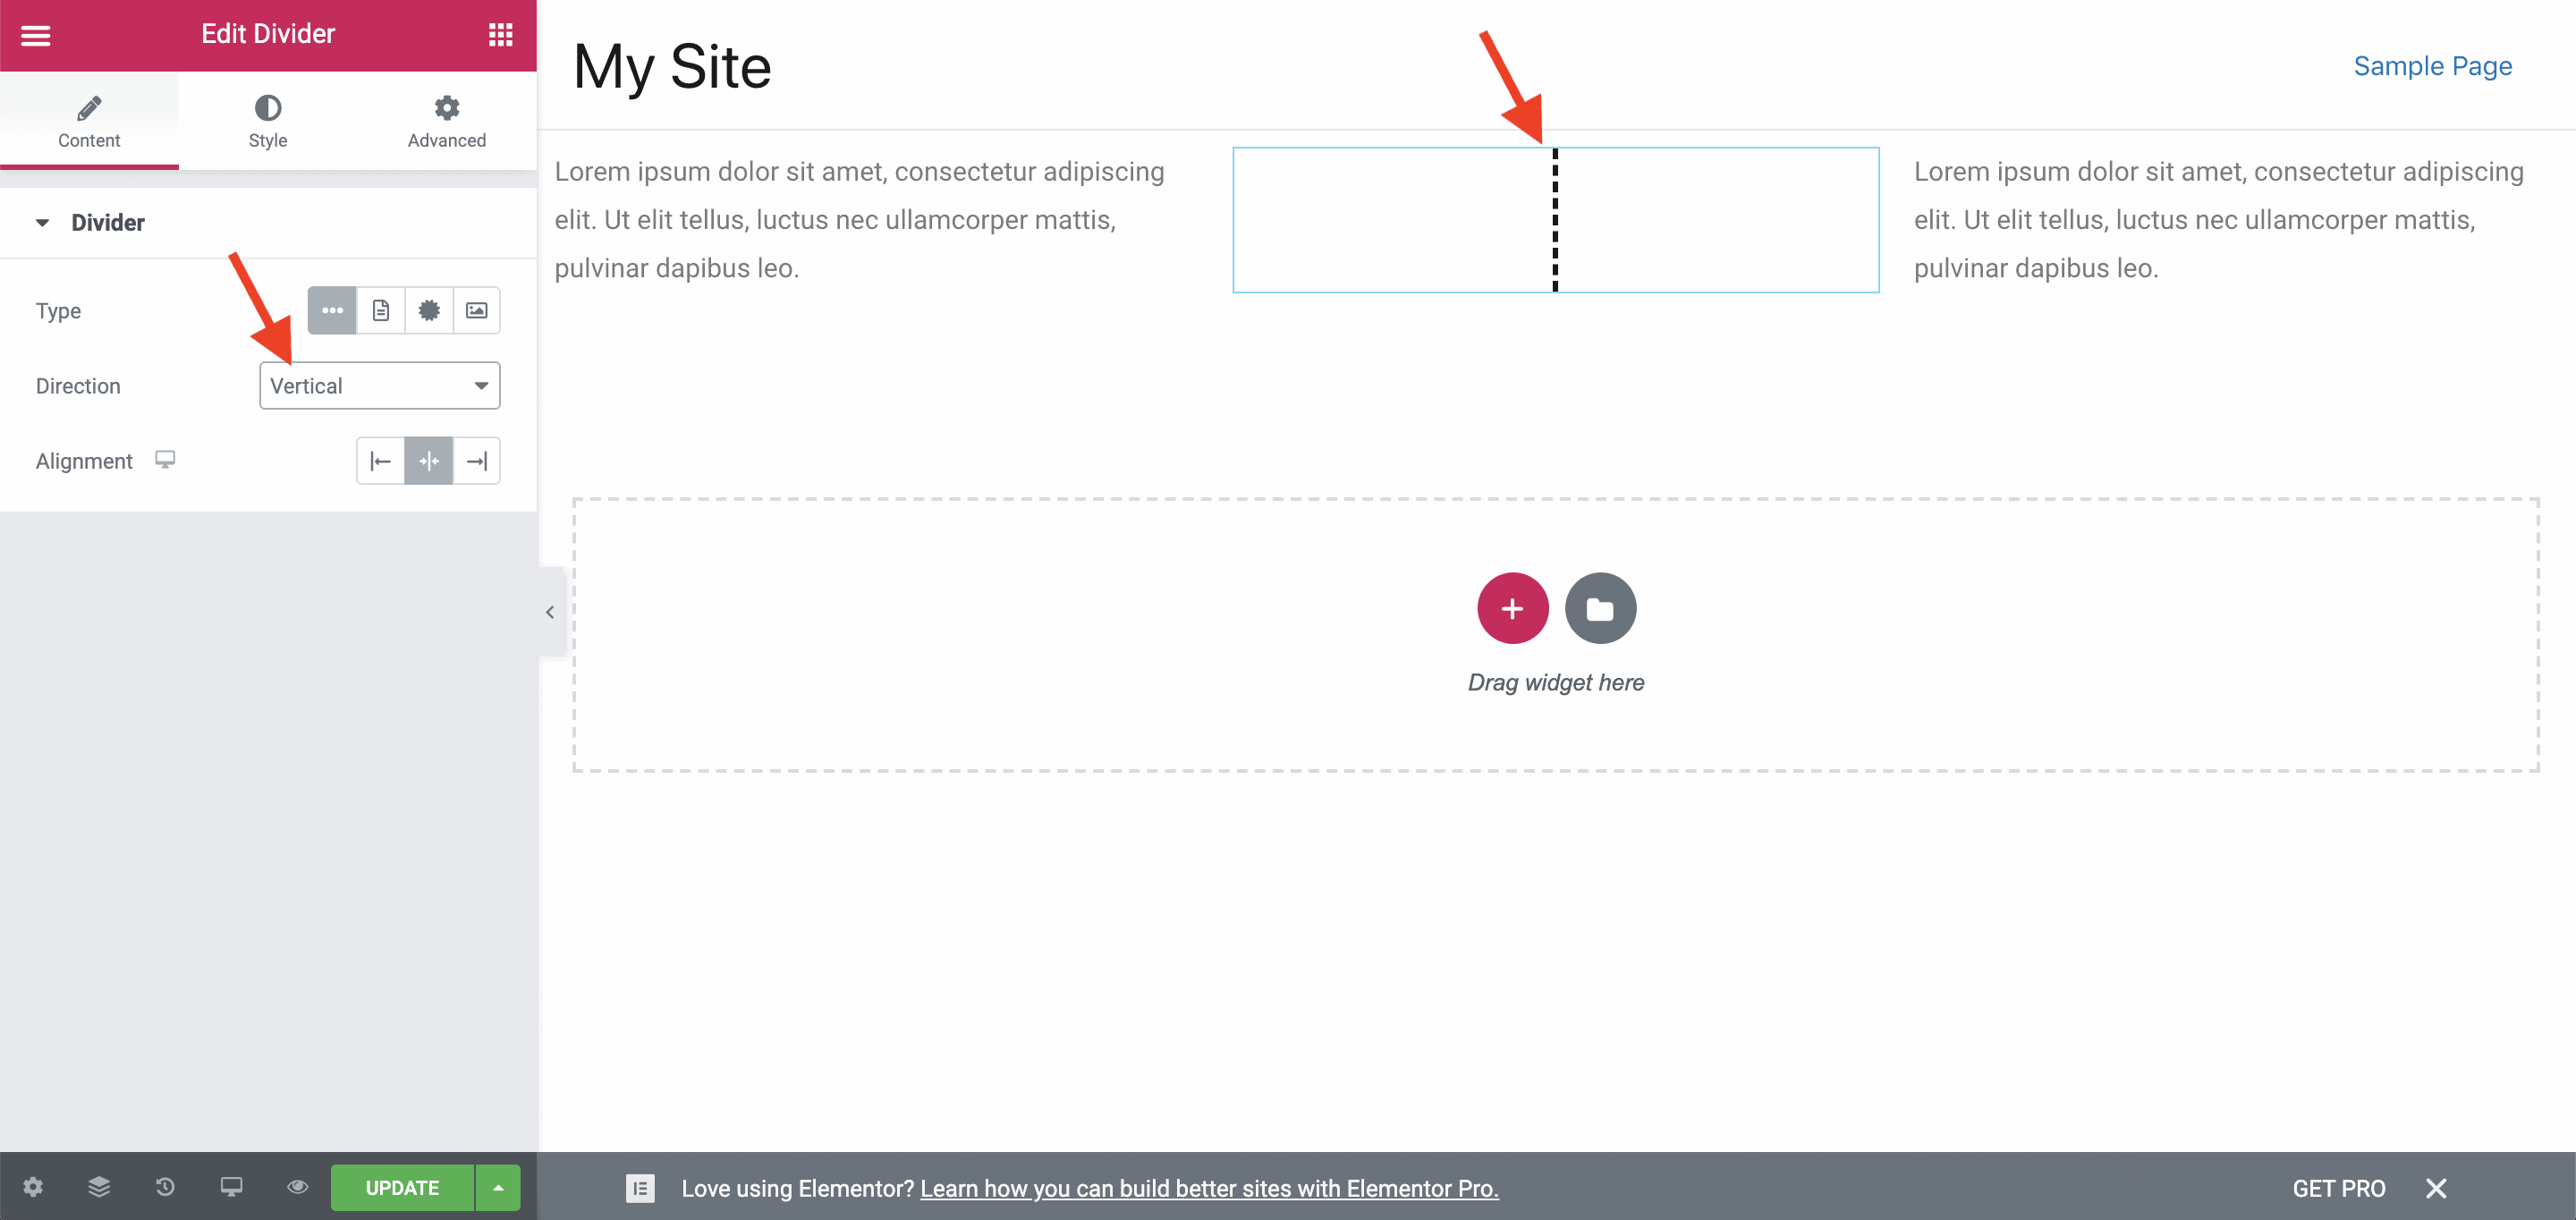
Then, in the left-side Divider widget settings panel, set the Direction field to Vertical to align the divider vertically.
Save your changes.
And that’s it!
That is how you add a vertical divider in Elementor without any hassles or writing code.
You can now adjust the widths of the columns to get the look that you want.
Alright!
Related Further Reading:
- How To Link To A Section In Elementor (Without Elementor Pro)
- How To Keep Accordion Closed By Default In Elementor (No Code)
- Is Elementor SEO Friendly? (Proven With Facts And Stats)
- Elementor Review – Only One Thing Matters In Elementor, Nothing Else!
- How To Reduce Section Height In Elementor? (Without Code)
Video Tutorial
What’s Next?
Play around with the PowerPack Divider widget’s settings to change the look and feel of the vertical divider.
There are a lot of settings that you can tweak to get the perfect look-and-feel for your divider.
And if you found this small tutorial useful, then please share it with your friends who might find it useful too.