Contact Form 7 is by far the most popular WordPress contact form plugin.
However, it does not give you a simple and straightforward way to add cc and bcc fields to your contact form.
Given below are the steps to add cc and bcc fields in Contact Form 7:
1. Edit the contact form.
Go to Contact > Contact Forms page from the left-side WordPress Admin Panel menu. Then, edit the form on which you want to place the cc and bcc fields.

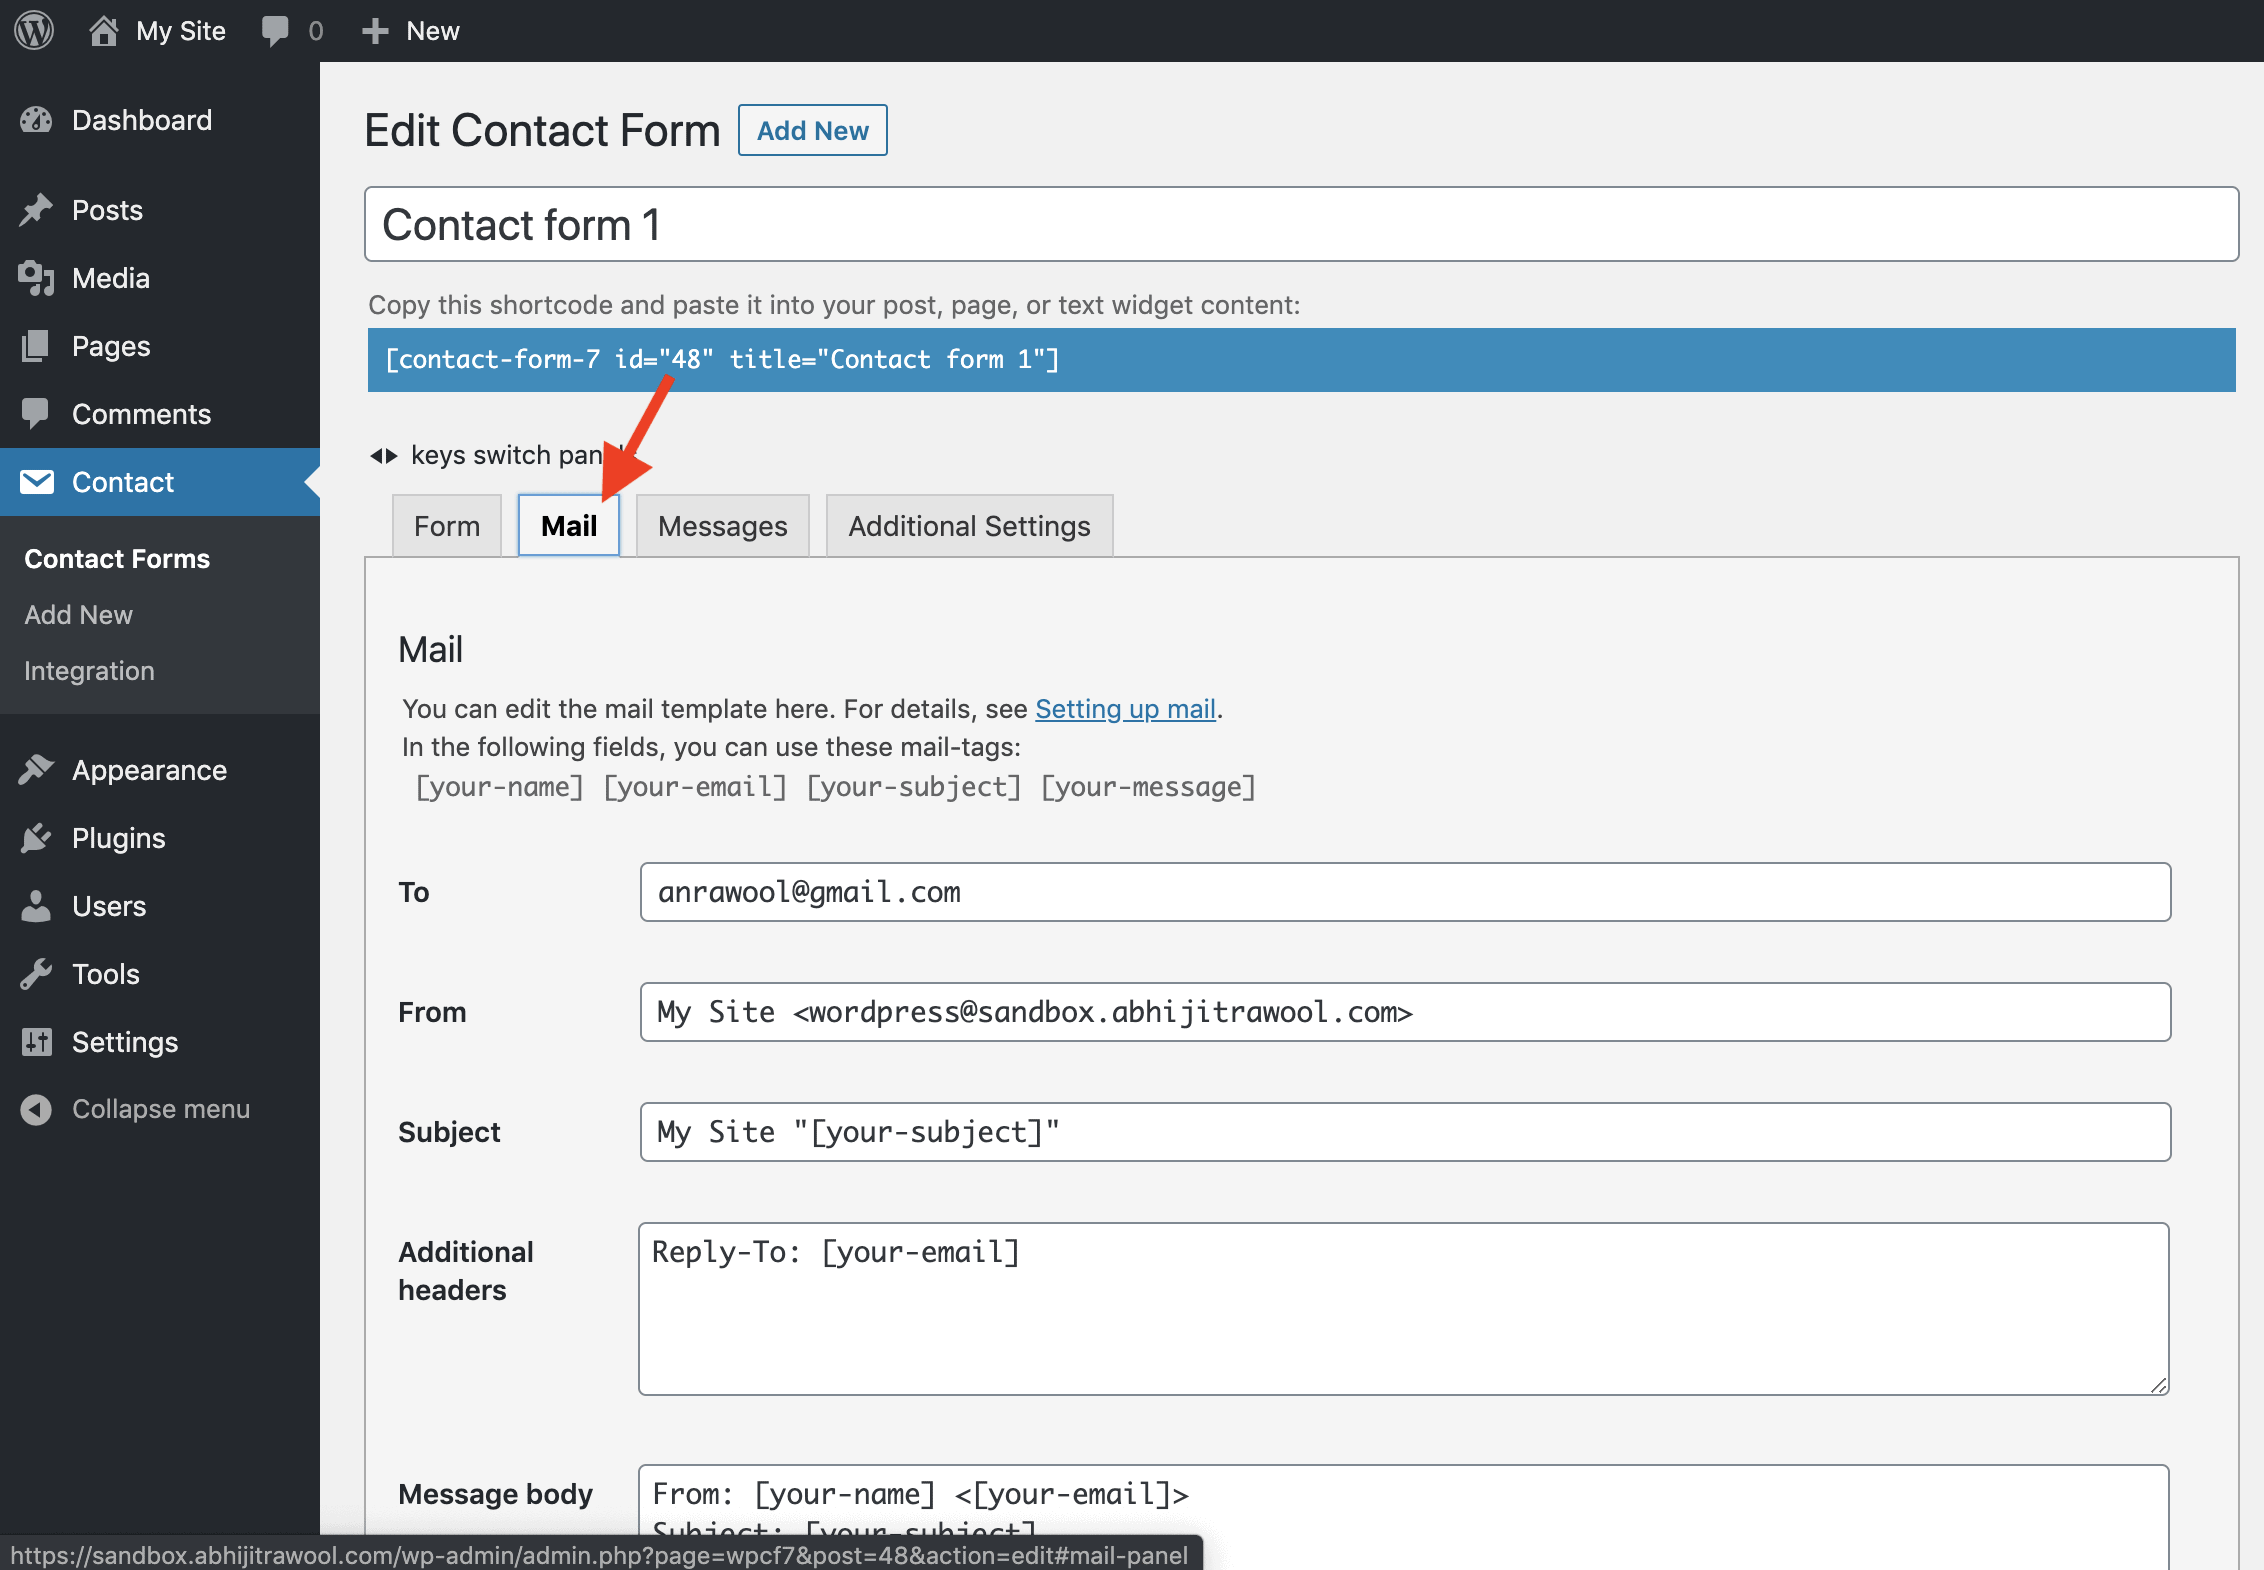
2. Open the Mail tab on Edit Contact Form page.
Once you are on the Edit Contact Form page, go to the Mail tab.
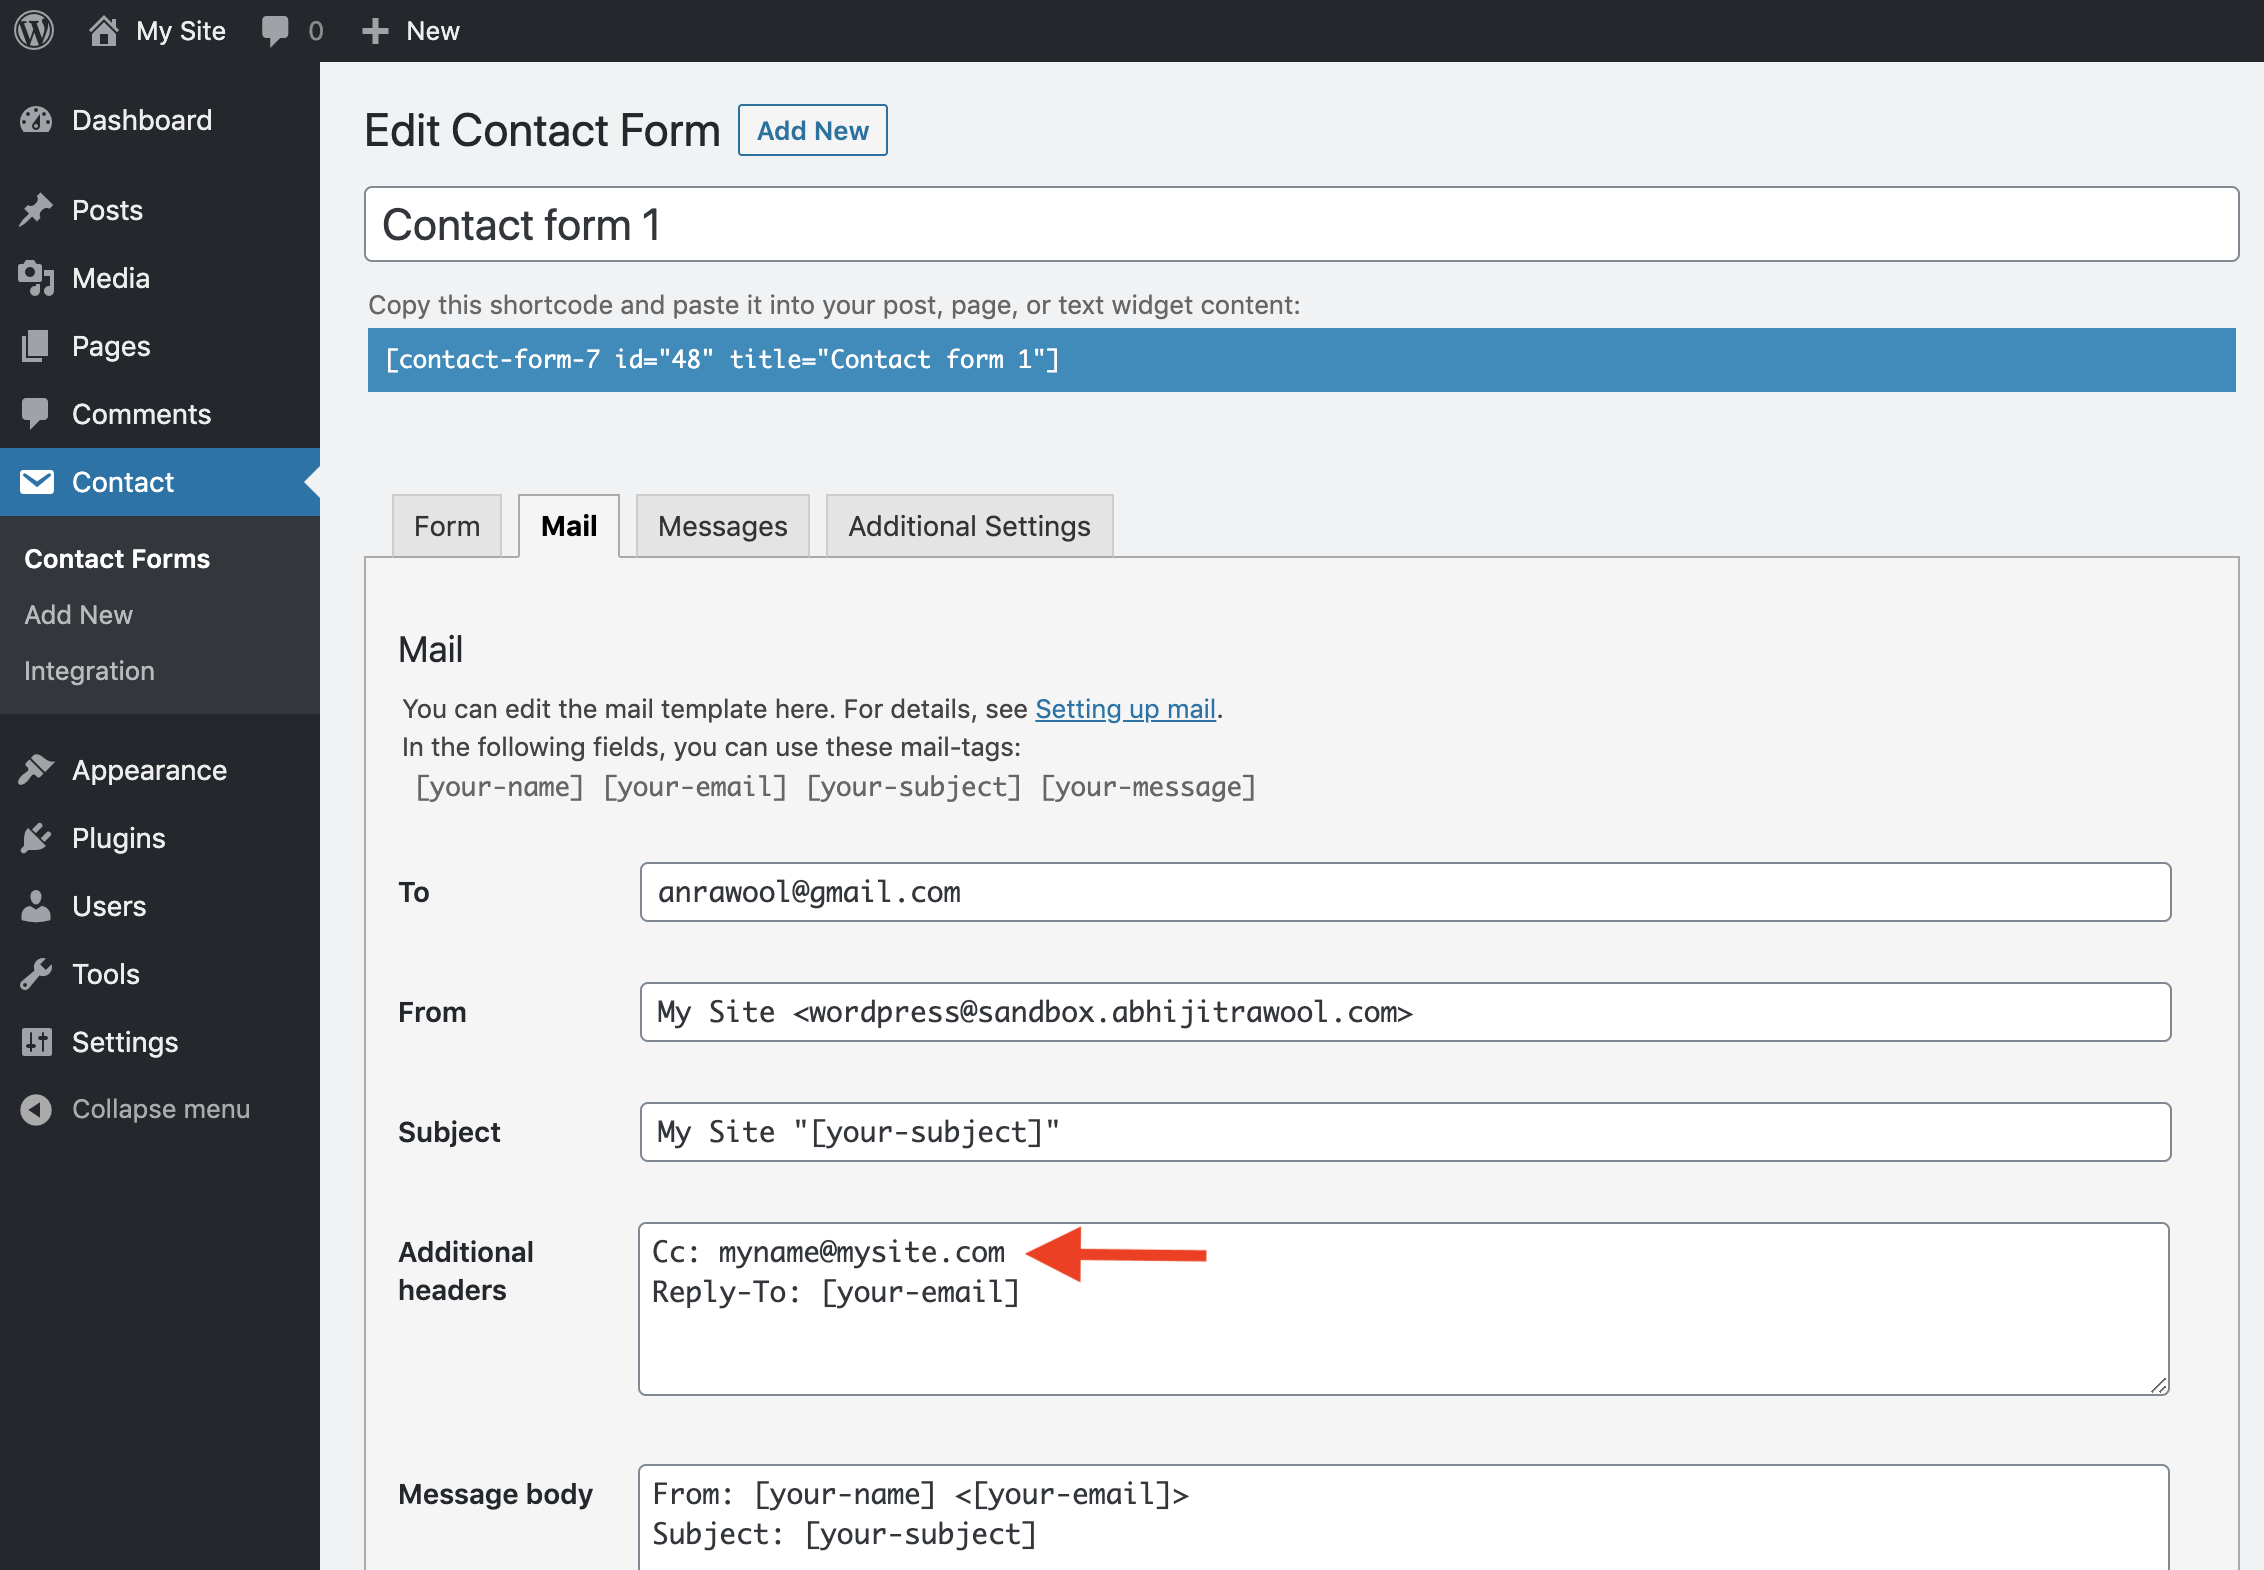
3. Add Cc: <email> in Additional headers field.
Now, in the Additional headers field, enter Cc: <email> to add the cc field to the contact form.
For example, Cc: [email protected]
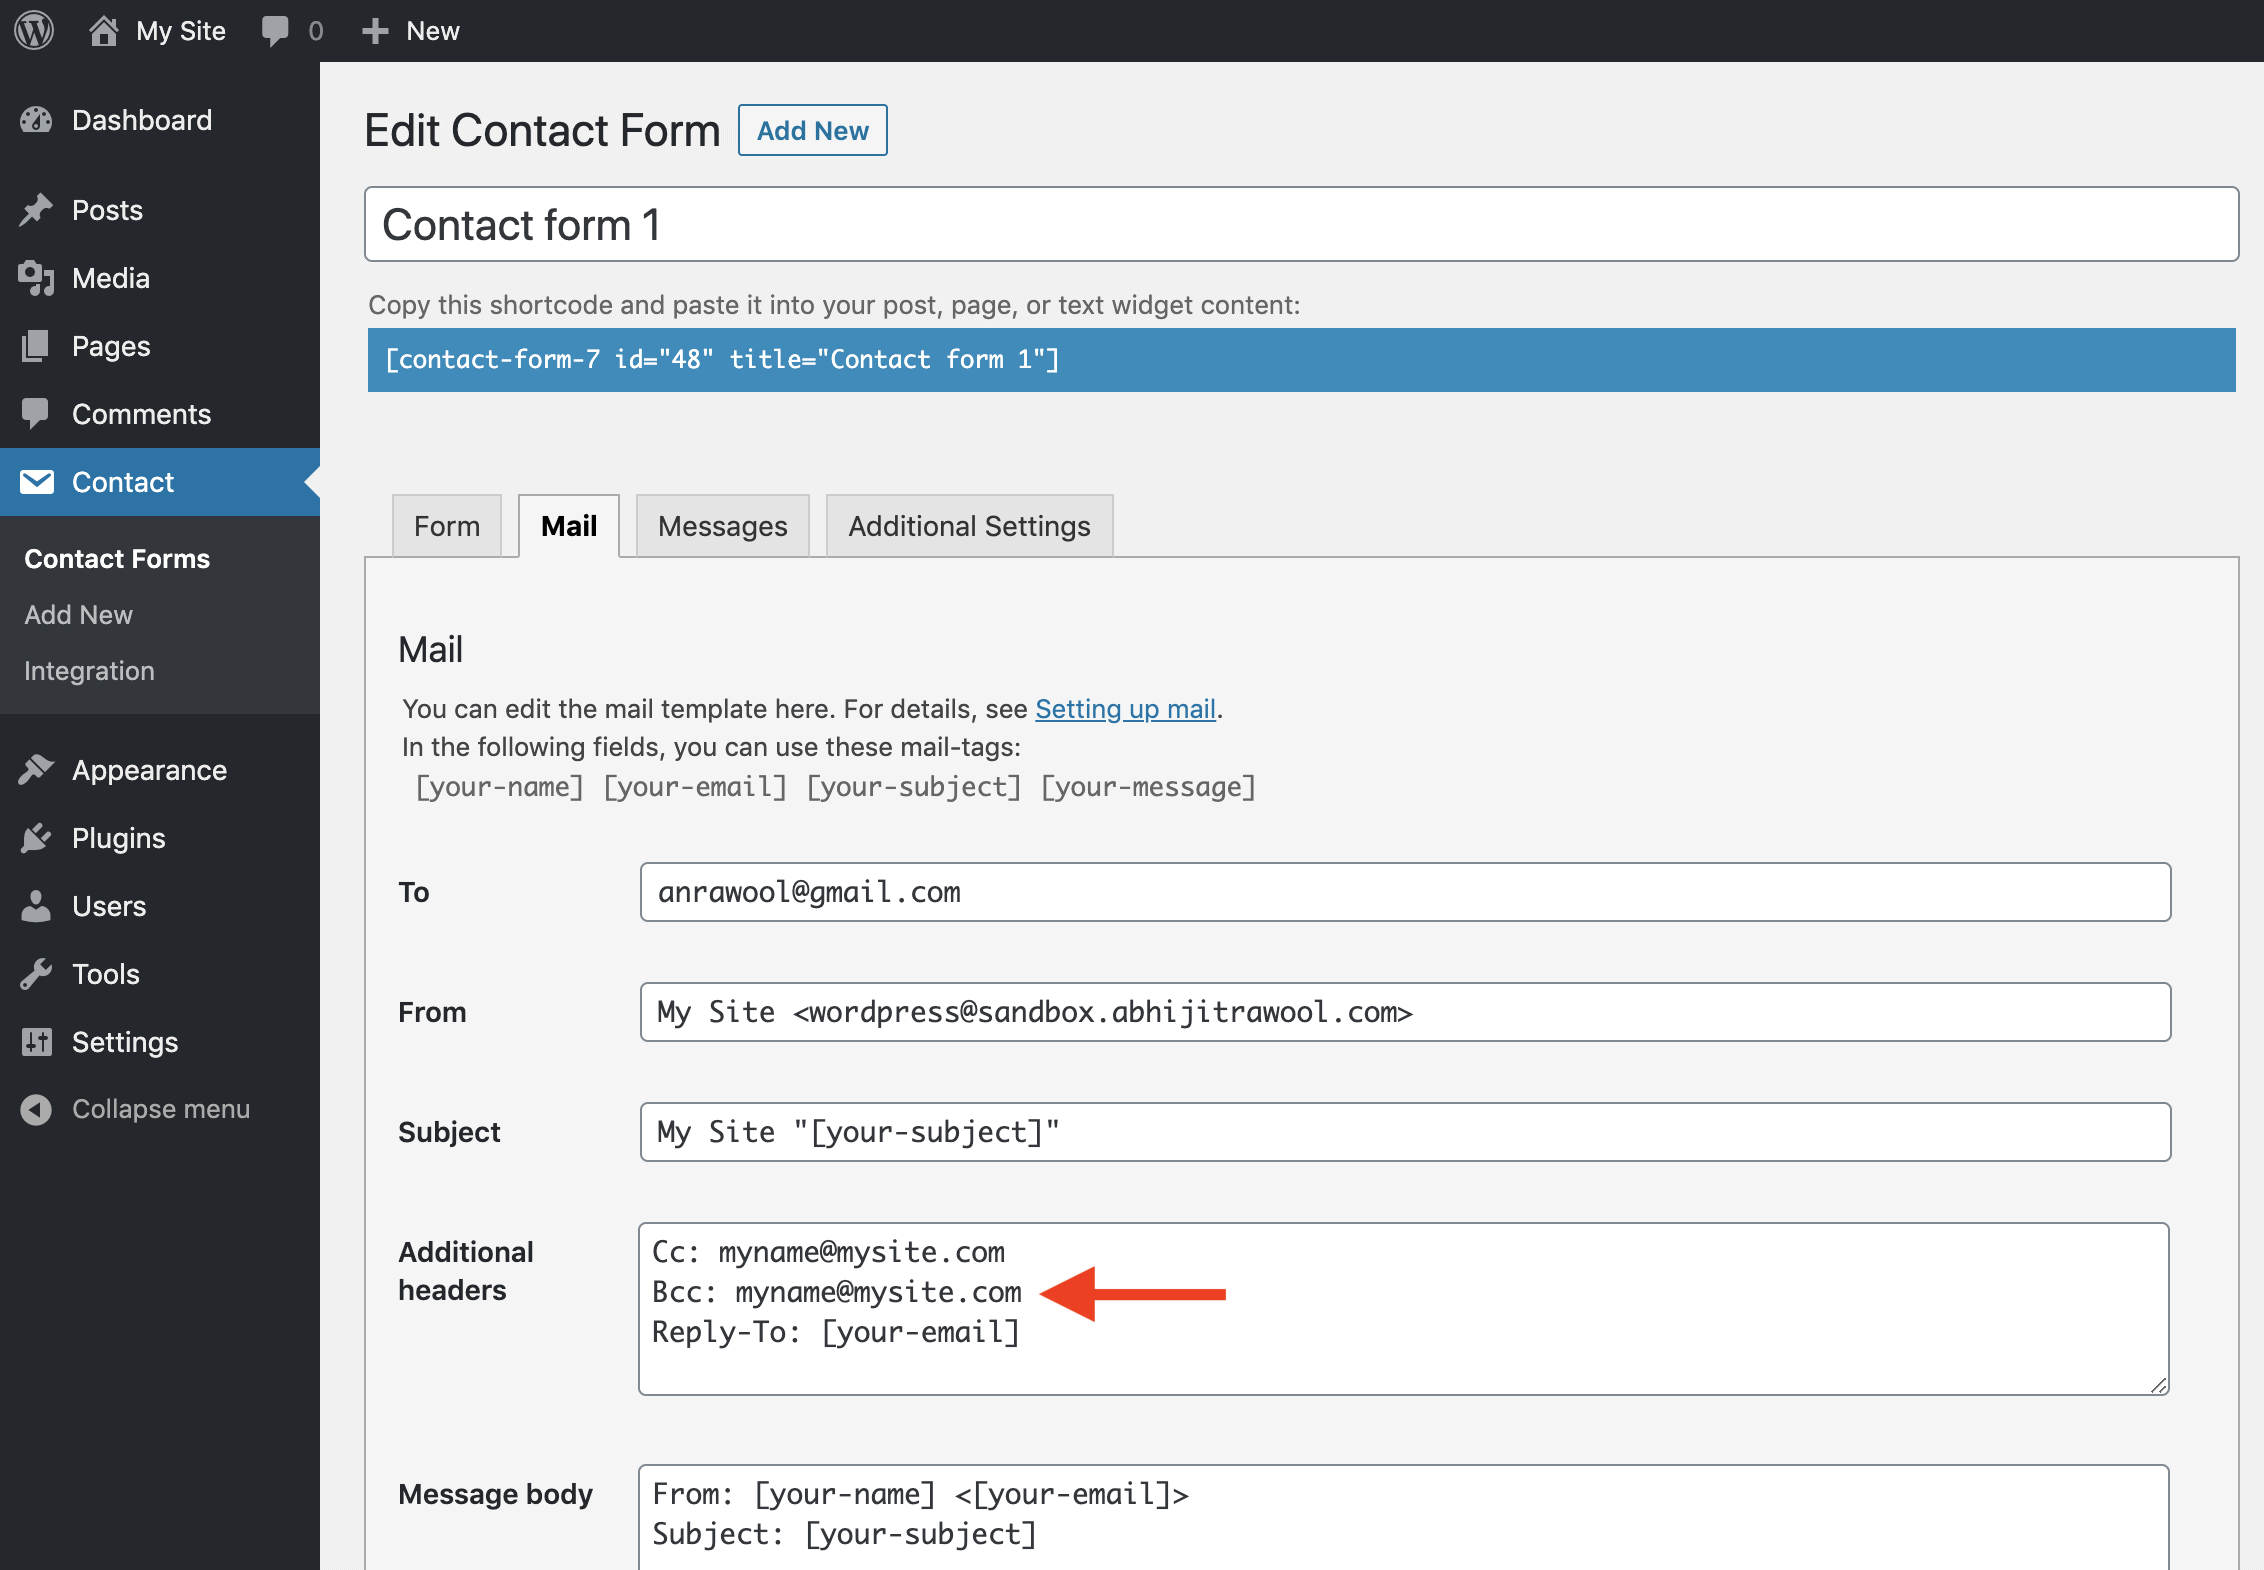
4. Add Bcc: <email> in Additional headers field.
Then, in the Additional headers field, enter Bcc: <email> to add the bcc field to the contact form.
For example, Bcc: [email protected]
And that’s it.
You have now added cc and bcc fields to your contact form.
What’s Next?
You can do a lot with the Contact Form 7 plugin.
So, explore the settings of this plugin to see what you can achieve with it.
Here are some tutorials to help you get the maximum out of this plugin:
- 2 Simple Methods To Style Contact Form 7 Without Code
- How To Add A Hidden Field In Contact Form 7? (With Default Value)
- How To Add Placeholder In Contact Form 7? (In 2 Easy Steps)
- How To Add Radio Buttons In Contact Form 7? (Without Code)
- How To Add Checkbox In Contact Form 7 Without Code?
- How To Add Background Image In Contact Form 7 Without CSS
- How To Add Contact Form 7 Form In Elementor Without Any Plugin
Video Tutorial
Parting Thoughts
I hope you liked this small little tutorial.
And if you found this tutorial useful, then please share it with your friends, I will really appreciate it.